If you’ve ever hovered over the “edit profile photo” button and then backed away slowly, you’re in good company. Figuring out how to take a headshot at home sounds easy-until you open your camera and suddenly notice everything: the shadow under one eye, the pile of laundry you swore was “out of frame,” the way your smile looks… unfamiliar.
And then the real question hits: do people actually judge you by a tiny square photo?
They do-quickly. But here’s the good news: a strong headshot has very little to do with fancy gear. It’s mostly a handful of choices you can control in ten minutes: light, background, camera height, distance, and expression. Nail those and you can create a self-taken headshot that feels current, trustworthy, and “yes, that’s me” for LinkedIn, a team page, or a speaking bio.
This stays practical and phone-first. We’ll walk through a simple plan, what matters (and what really doesn’t), a repeatable setup using everyday items, and the quick fixes that keep an at-home headshot from drifting into selfie territory. Ready to stop overthinking and get a photo you can actually use?
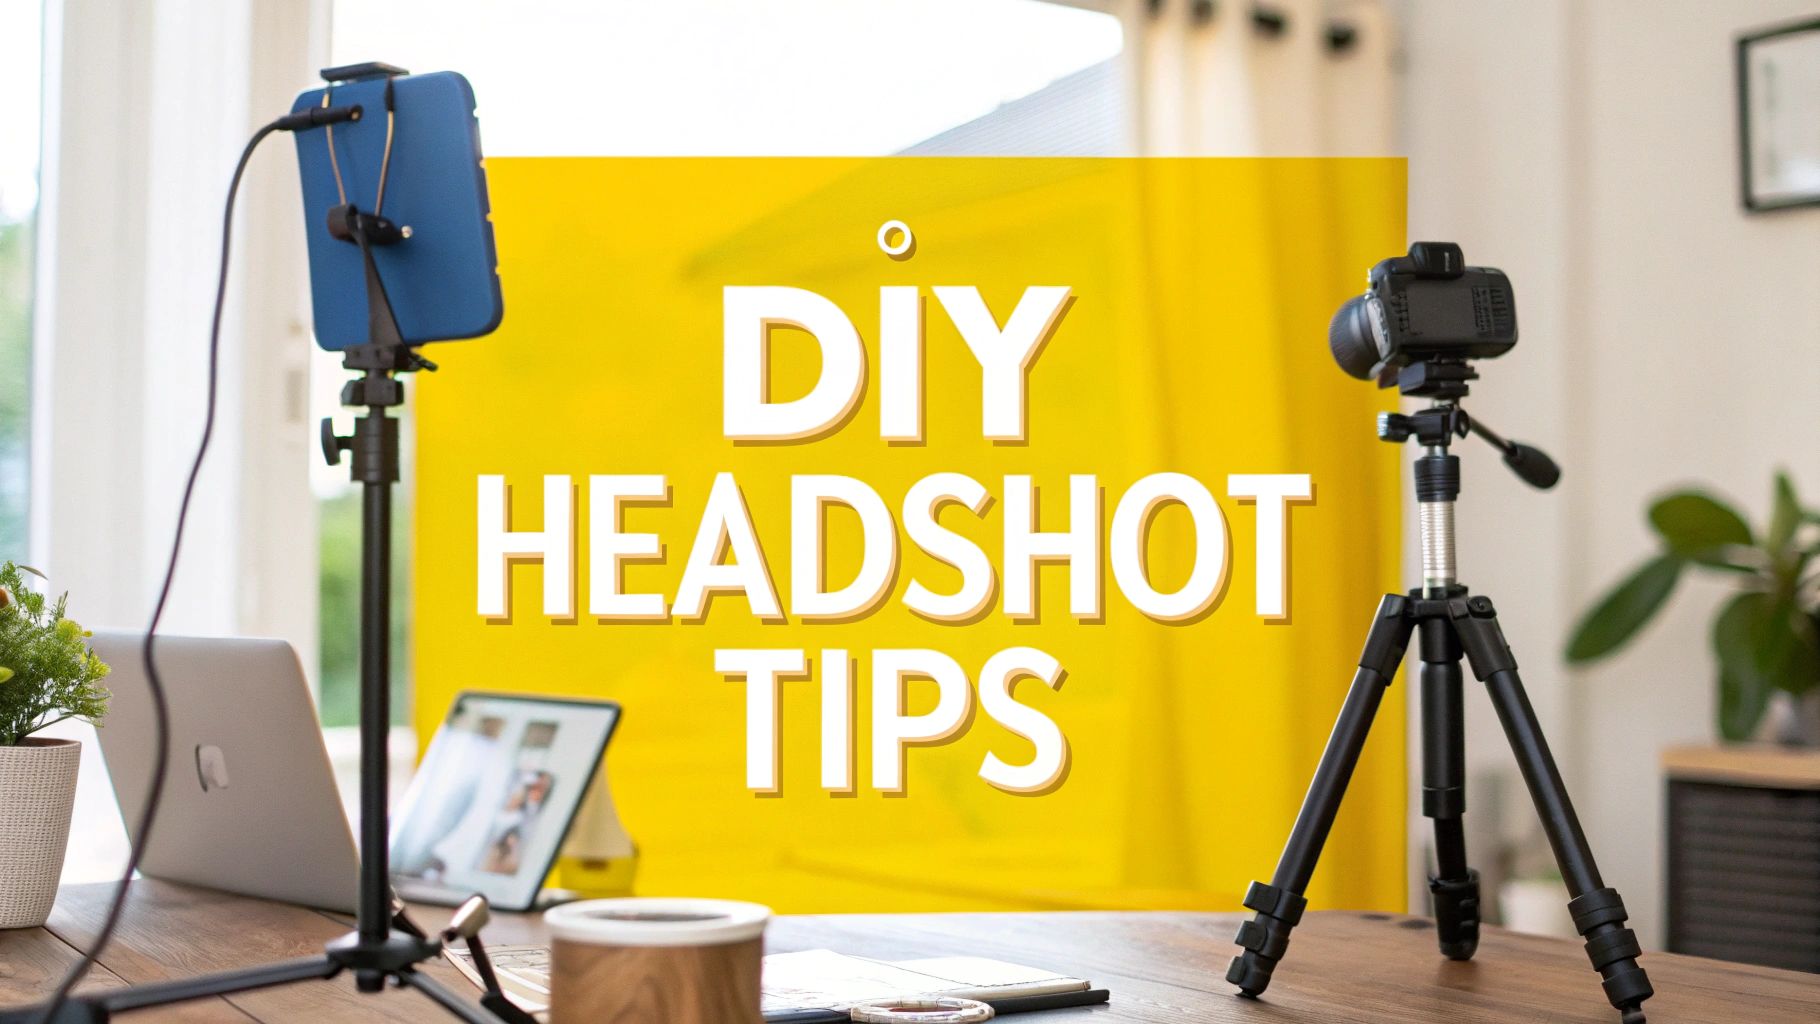
How to Take a Headshot at Home: A Quick, No-Mystery Plan
A good headshot is a small project, not an all-day event. If you give yourself 30-45 minutes and follow a simple sequence, you’ll usually end up with a handful of solid options-without spiraling into “just one more retake.”
Start with one decision: where will the photo live? A LinkedIn headshot at home typically calls for clean, bright, and approachable. A creative portfolio can handle a bit more mood. That choice helps you pick your light and background without second-guessing every detail.
Next, choose your light. For most of us, the easiest win is a window with indirect daylight. It’s flattering, it’s free, and it hides a lot of tiny “camera sees everything” problems.
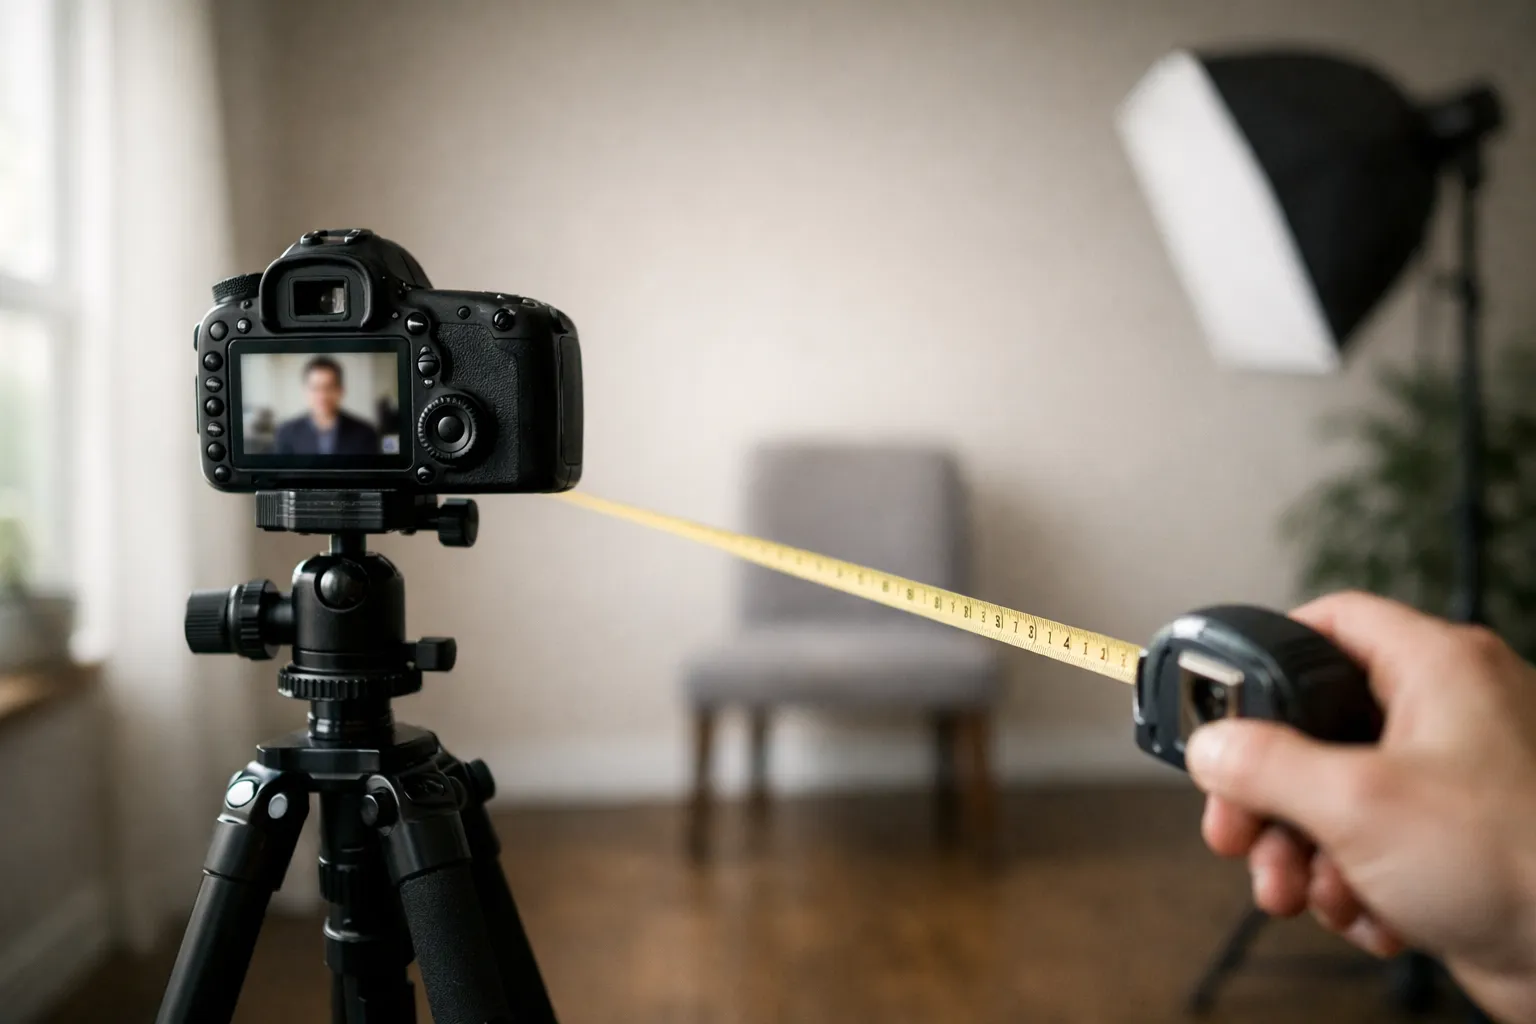
Now set the camera before you think about your face. Put the phone at eye level (not below), step back, and use a slight zoom if your phone has a clean 2x lens. Why? Because getting some distance between you and the camera reduces the wide-angle distortion that can make noses and foreheads look bigger than they do in real life.
Finally, take more photos than you think you need-but change only one variable at a time. Try: chin slightly forward, shoulders angled a touch, one step farther from the background. The best shots often happen right after you stop “posing” and start breathing like a normal person.
If you only remember one line: control the light, and the rest gets easier.
What Actually Matters for a Good Home Headshot (and What to Ignore)
If you’re learning how to take a headshot at home, it helps to tune out the noise. A do-it-yourself headshot can look genuinely professional when it follows the same basic logic as studio work: flattering light, separation from the background, and an expression that feels confident and real. For a simple benchmark of what “professional” typically includes, see these standards for professional business headshots.
What you don’t need? A shopping spree. Most of the “must-have” gear online is optional at best.
Here’s the quick sorting hat for your attention:
| Matters a lot | Why it matters | Usually safe to ignore | Why it is not critical |
|---|---|---|---|
| Soft, directional light from the front or 45 degrees | Smooths texture and adds shape to your face | Ultra high megapixels | Headshots are usually viewed small on screens |
| Clean background with distance behind you | Reduces distractions and adds depth | Designer backdrops | A plain wall or curtain can look great |
| Eye-level camera and moderate focal length | Avoids distortion and “looking up” angles | A ring light specifically | Window light often looks more natural |
| Sharp eyes and a natural expression | Builds trust fast | Heavy beauty filters | They look dated and can reduce credibility |
| Simple outfit that fits the context | Reads as intentional and current | Trendy accessories | They often pull focus from your face |
“People do not notice your camera. They notice whether you look approachable and competent.”
When a DIY Home Headshot Is Enough
A DIY headshot at home is usually plenty when you need a clear, friendly image for LinkedIn, an internal directory, a conference badge, a nonprofit board page, or a speaker bio. In most of those places, the photo appears small-so the basics carry the whole result.
It’s also a great option if you can control your environment for even 20 minutes. Quiet room? Check. One window with steady light? Great. A background you can simplify? Perfect.
A small, real-world example: I once helped a recruiter who was using a cropped group photo (you could still see someone’s shoulder beside theirs). We swapped it for a clean at-home headshot with window light and a neutral wall, and they also tightened their headline. Within a week, their profile views jumped from roughly 40 per week to about 65.
Was it only the photo? Probably not. But the photo removed friction. People could see their face clearly, register “professional,” and move on to the content.
Want the science behind why that split-second impression matters? This summary of first impression research from Princeton is worth bookmarking: Princeton University on first impressions.
When It Stops Making Sense: Better Alternatives
There’s a point where taking your own headshot becomes the expensive choice-because of time, stress, and missed opportunities. If you’re applying for senior roles, pitching investors, launching a personal brand, or doing PR, you might need consistency across lighting, wardrobe, and retouching that’s tough to self-produce.
A pro also helps if you need multiple “looks” quickly (serious, friendly, formal, casual), if you want a whole team to match, or if you freeze the second a camera points your way. A good photographer isn’t just there for the shutter-they coach posture, timing, and expression in real time.
If hiring someone feels like a huge step, booking platforms can make it simple. For example, Snappr lets you schedule photographers in many cities and compare options by style and price.
And if you want a consistent, professional result without managing lighting, posing, and retouching yourself, AI headshots from Headyshot can be a practical shortcut.
The Minimum Setup That Works for Most People (Phone-First, Cheap)
Here’s the truth: the “secret” to how to take a headshot at home isn’t buying equipment-it’s building a setup you can repeat. You want something you can rebuild in ten minutes next month when your haircut changes, your role changes, or you simply want a fresher photo.
Think in threes: one room, one window, one background.
Choose a spot where you can control the light and simplify what’s behind you. Then keep the camera steady. When those pieces stay consistent, your photos instantly look more intentional-and less like you snapped them between meetings.
Home Headshot Lighting Without Equipment
Window light is your best friend, but it has moods. The sweet spot is bright shade, not direct sun. Stand facing the window, then rotate your body slightly so the light comes from one side (about 30-45 degrees). You’re aiming for “even but not flat.”
If the light looks harsh, soften it. A thin white curtain works beautifully. No curtain? You can tape a sheet of white paper over part of the glass to diffuse it. If one side of your face gets too dark, bounce light back with something pale: a white poster board, foam core, or even a light-colored pillowcase draped over a chair.
Two quick signals to watch for:
Hard shadow edges usually mean the light is too direct.
A shiny forehead often means you’re too close to the window or you need to turn your face a few degrees away.
Small adjustments beat complicated gear every time.
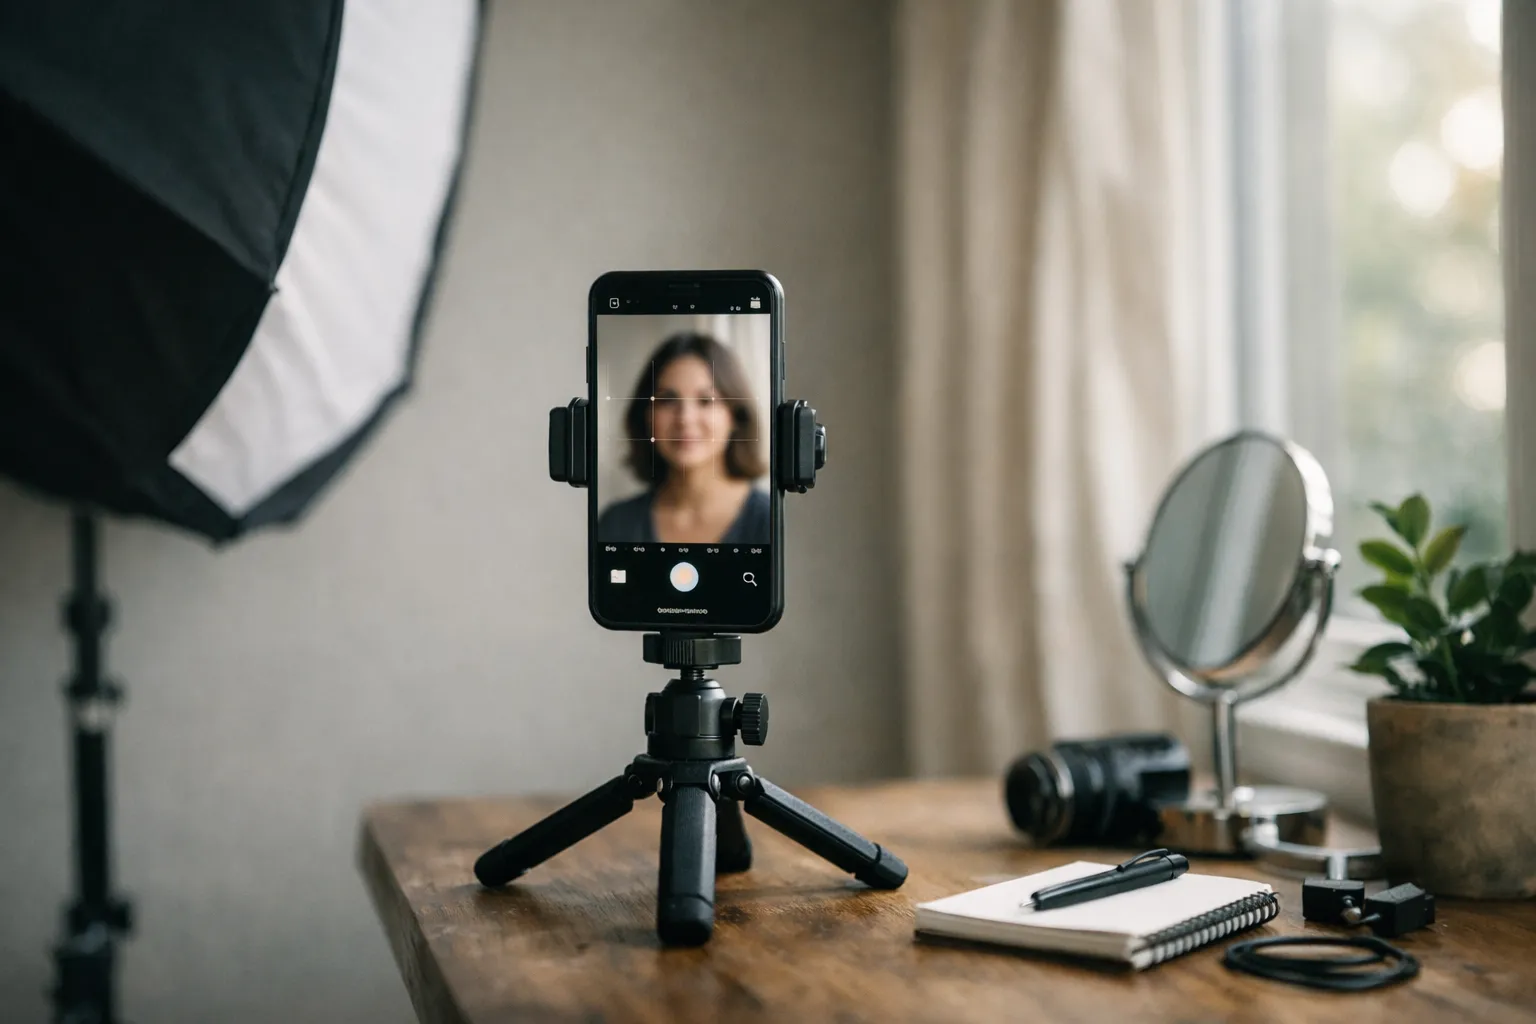
How to Take a Professional Headshot at Home with a Phone
To keep this simple, treat your phone like a small portrait camera.
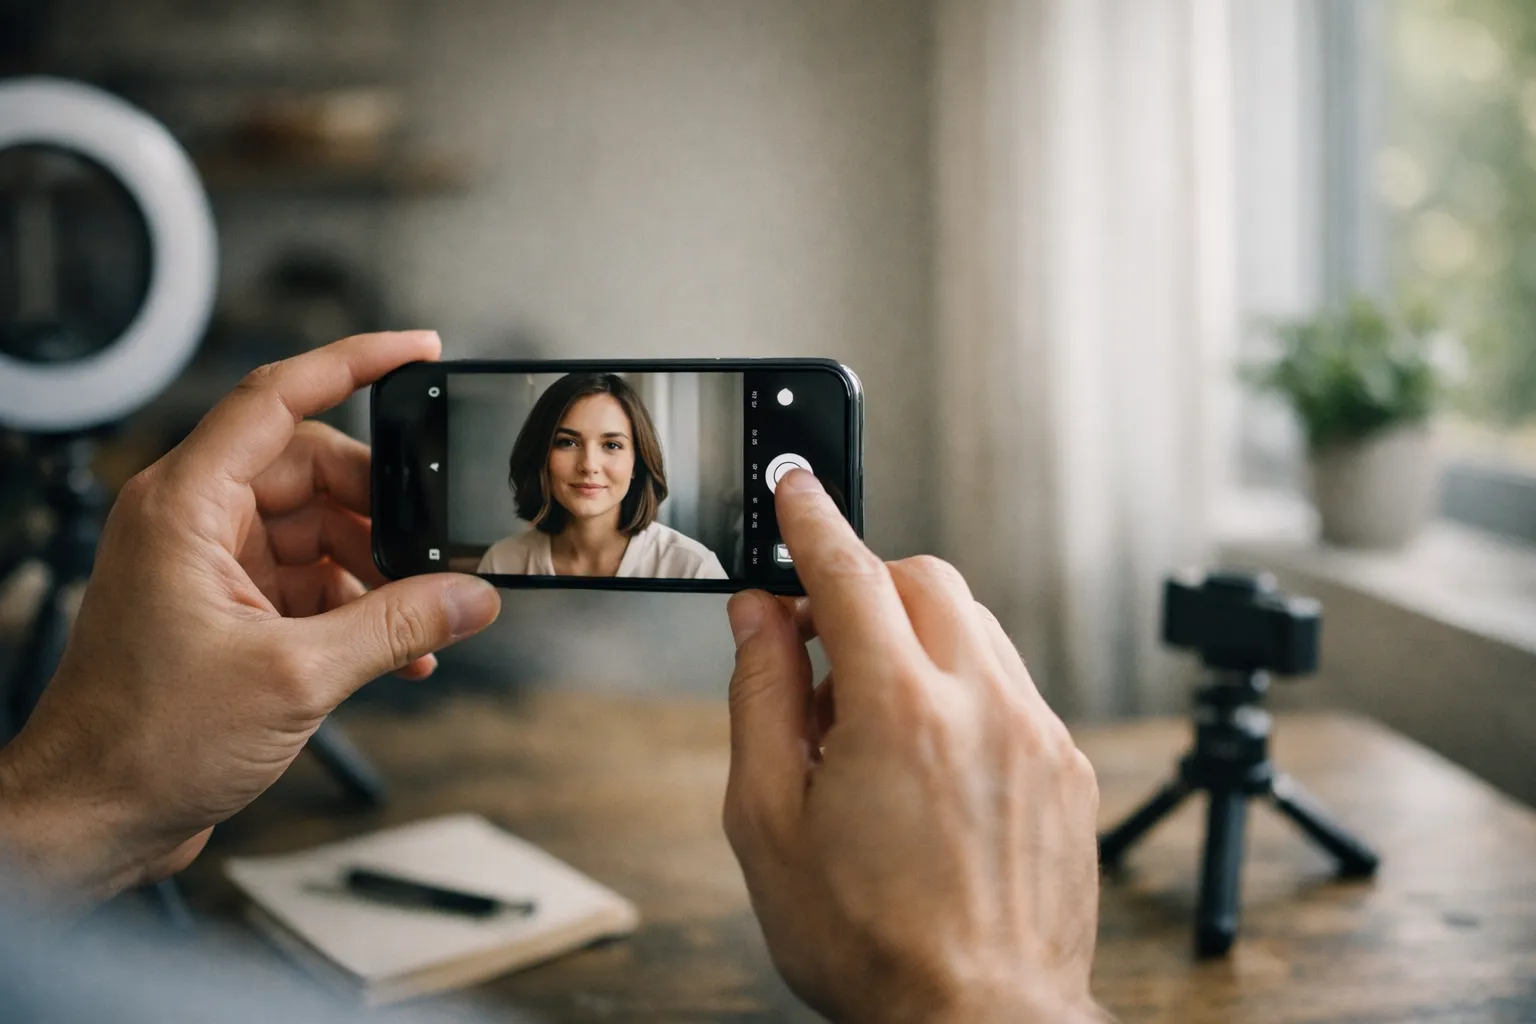
Start with the unglamorous step that makes a big difference: clean the lens. Then use the rear camera if you can-it’s typically sharper than the selfie camera. Set a timer, use a remote shutter, or ask someone to tap the shutter while you focus on expression.
Frame from mid-chest to just above the head. Leave a little space above your hair, but not so much that you look far away. On most phones, tap and hold on your eyes to lock focus/exposure, then nudge exposure slightly brighter if your face looks dull.
Portrait Mode can help, but be picky. Subtle blur looks great; glitchy hair cutouts don’t.
If you keep wondering how to take a headshot at home without it screaming “selfie,” focus on distance. Step back, zoom slightly, and keep the phone level at eye height. That one change does more than most apps.
For deeper camera basics that apply to most models, Apple’s tips are clear and beginner-friendly: Apple Support on taking photos.
Common Mistakes That Ruin Home Headshots-and the Fast Fixes
Even a budget headshot at home can look polished if you dodge a few predictable traps. The camera exaggerates certain choices-especially lighting and angle-so what feels “fine” in the moment can look off when you review the photos.
If you’ve tried how to take a headshot at home before and felt disappointed, there’s a good chance one of these was the culprit.
Below are the issues I see most often, plus the quickest fix for each.
- Overhead room lighting: It creates under-eye shadows and a tired look. Fix it by turning off ceiling lights and using window light instead.
- Standing too close to the background: It flattens the image and makes shadows appear behind your head. Fix it by stepping 3 to 6 feet forward.
- Messy background details: Doorframes, plants, and picture frames can look like they are growing out of your head. Fix it by shifting left or right a few inches and simplifying what is behind you.
- Low camera angle: It enlarges the chin and nostrils. Fix it by raising the phone to eye level, using books or a shelf.
- Wide-angle face distortion: Common on selfie cameras and 1x lenses up close. Fix it by backing up and using a slight zoom.
- Over-retouching and filters: Plastic skin reduces trust. Fix it by using light edits only, like exposure and color balance.
- Tense mouth and “photo smile”: It reads as forced. Fix it by exhaling, relaxing the jaw, and thinking of a real person you like.
One punchy line that helps: if it looks like your driver’s license, change the light.
Conclusion + FAQ for how to take a headshot at home
A good at-home headshot is a stack of small choices that add up: soft light, a clean background, eye-level framing, and an expression that feels like you on a good day. And the best part of learning how to take a headshot at home is that once you’ve got a setup that works, you can repeat it anytime-new role, new haircut, new year.
If you want one final rule, make it this: your eyes should be bright, sharp, and easy to find. Everything else is supporting cast.
What is the best background for headshots at home?
Aim for boring, on purpose. A plain wall, a tidy bookshelf blurred in the distance, or a curtain can all work. The key is separation: stand several feet away so the background goes a little softer, even on a phone.
Avoid high-contrast patterns and anything with readable text. Also watch for vertical lines-like a doorframe-that slice through your head. (Ever taken a photo where the background looked fine, and then you noticed the “line” afterward? That’s usually the culprit.) A small sidestep fixes it.
If your home is visually busy, create a temporary backdrop. A solid bedsheet pinned flat can work, as long as it is wrinkle free and evenly lit. If you’re thinking specifically about how to take a headshot at home for LinkedIn, light gray, off-white, and muted blue tend to feel calm and professional.
How should I pose for a headshot at home?
Start with your feet. Stand with your weight on the back foot and angle your body slightly away from the camera, then bring your face back toward the lens. This creates shape without looking like you’re “doing a pose.”
Keep your chin slightly forward and then slightly down. It feels odd, but it defines the jawline and keeps your eyes engaged. Shoulders relaxed, neck tall.
For expression, think “pleasant and present,” not “big smile.” A small smile with relaxed eyes often reads as more confident than a wide grin. Take a few frames between smiles too-many people’s best shot is the moment right after they stop trying. If you’re practicing how to take a headshot at home, that in-between moment is pure gold. If you’re stuck on what to wear, this guide to outfits for business headshots makes the choices much easier.
If you want to skip the setup entirely and still get a clean, professional headshot, Headyshot lets you create studio-style headshots from simple photos at home 👉 https://www.headyshot.com/