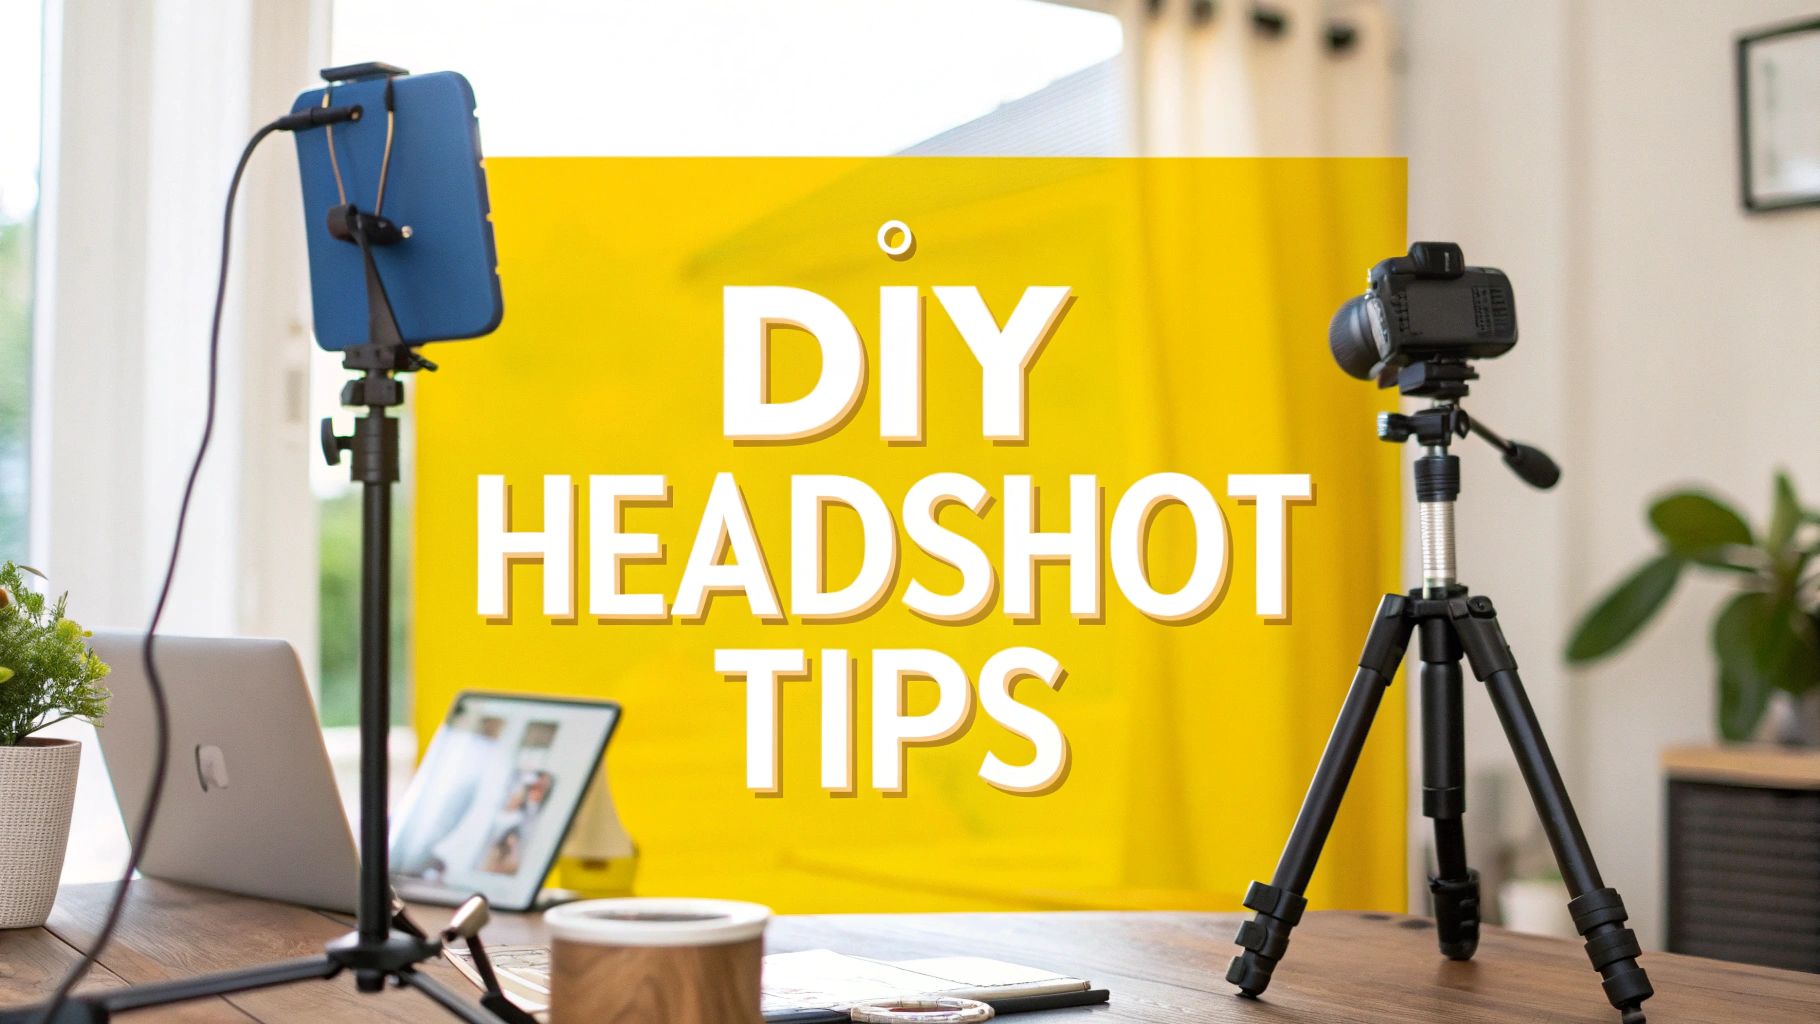
Taking a professional headshot yourself is more achievable than you might think. The process comes down to three key elements: good lighting, a clean background, and a stable camera. You don't need a high-end studio or expensive equipment; a smartphone and a window with natural light can produce a high-quality photo that communicates confidence and competence.
Why Your Headshot Is Your Digital Handshake
In today's remote and digital world, your headshot is often your first introduction. It serves as your digital handshake on LinkedIn, your company website, and your professional portfolio. A sharp, well-lit photo does more than put a face to a name—it says a lot about your professionalism before anyone reads your bio.
First impressions are often visual and happen in seconds. A clear, professional photo helps build an initial sense of trust with potential employers, clients, or colleagues. It is the first step in establishing your credibility online.
The Impact on Your Career
A strong headshot can open doors. Recruiters frequently browse LinkedIn, and profiles with professional photos receive significantly more views and engagement. It signals that you take your career seriously and pay attention to detail.
When preparing job applications, a polished headshot is a key part of your presentation. It provides a visual anchor for your professional story, especially when paired with resources like Notion professional resume templates.
A thoughtfully created headshot is a direct investment in your personal brand. It conveys your unique personality and professional identity, helping you stand out in a crowded market.
Whether you're looking for a new job, freelancing, or connecting with a remote team, your photo works for you 24/7. Learning how to take your own headshot gives you complete control over this vital part of your brand. This guide will walk you through everything you need to know, from effective DIY methods to how AI-generated headshots can provide a studio-quality look without the complexity.
Getting Ready for Your At-Home Photoshoot

Before you begin taking pictures, a little preparation goes a long way. Thoughtful planning helps you feel confident and focused when it's time to shoot. This preparation is the key to a polished photo that genuinely represents you. When you feel prepared, it shows. Your expression will be more natural, leading to a much stronger final image.
First, Define Your Professional Brand
Your headshot is a central piece of your personal brand. Before deciding what to wear, take a moment to consider the message you want to convey. Are you a forward-thinking creative in the tech industry? Or are you a trusted advisor in a traditional field like finance or law?
The answer will guide all your other choices. A friendly, approachable look might be perfect for a consultant, while an authoritative, focused expression could be better for an executive.
Your headshot isn't just a picture; it's a strategic communication tool. It needs to align with the professional identity you want to project on LinkedIn or in your resume.
Once you have clarity on your brand, other decisions—from your outfit to your expression—become much simpler.
Choosing an Outfit That Works on Camera
Your wardrobe can make or break the final shot. The best choices are often the simplest, as they keep the focus where it belongs: on your face. Solid colors are almost always better than busy patterns or logos, which can be distracting. Jewel tones like emerald green, sapphire blue, and rich burgundy flatter a wide range of skin tones and add a professional feel.
Here are a few wardrobe tips:
- Layering: A blazer, cardigan, or a tailored jacket over a simple top adds depth and structure to your look.
- Necklines: V-necks and scoop necks are generally flattering because they can elongate the neck. Higher necklines, like a crew neck or a collared shirt, convey a more formal, traditional feel.
- The Right Fit: Ensure your clothes fit well—not too tight or too baggy. Ill-fitting clothes can look unprofessional and make you appear uncomfortable.
Ultimately, wear something that makes you feel confident. If you're unsure, have a couple of options ready.
Grooming for a Polished, Natural Look
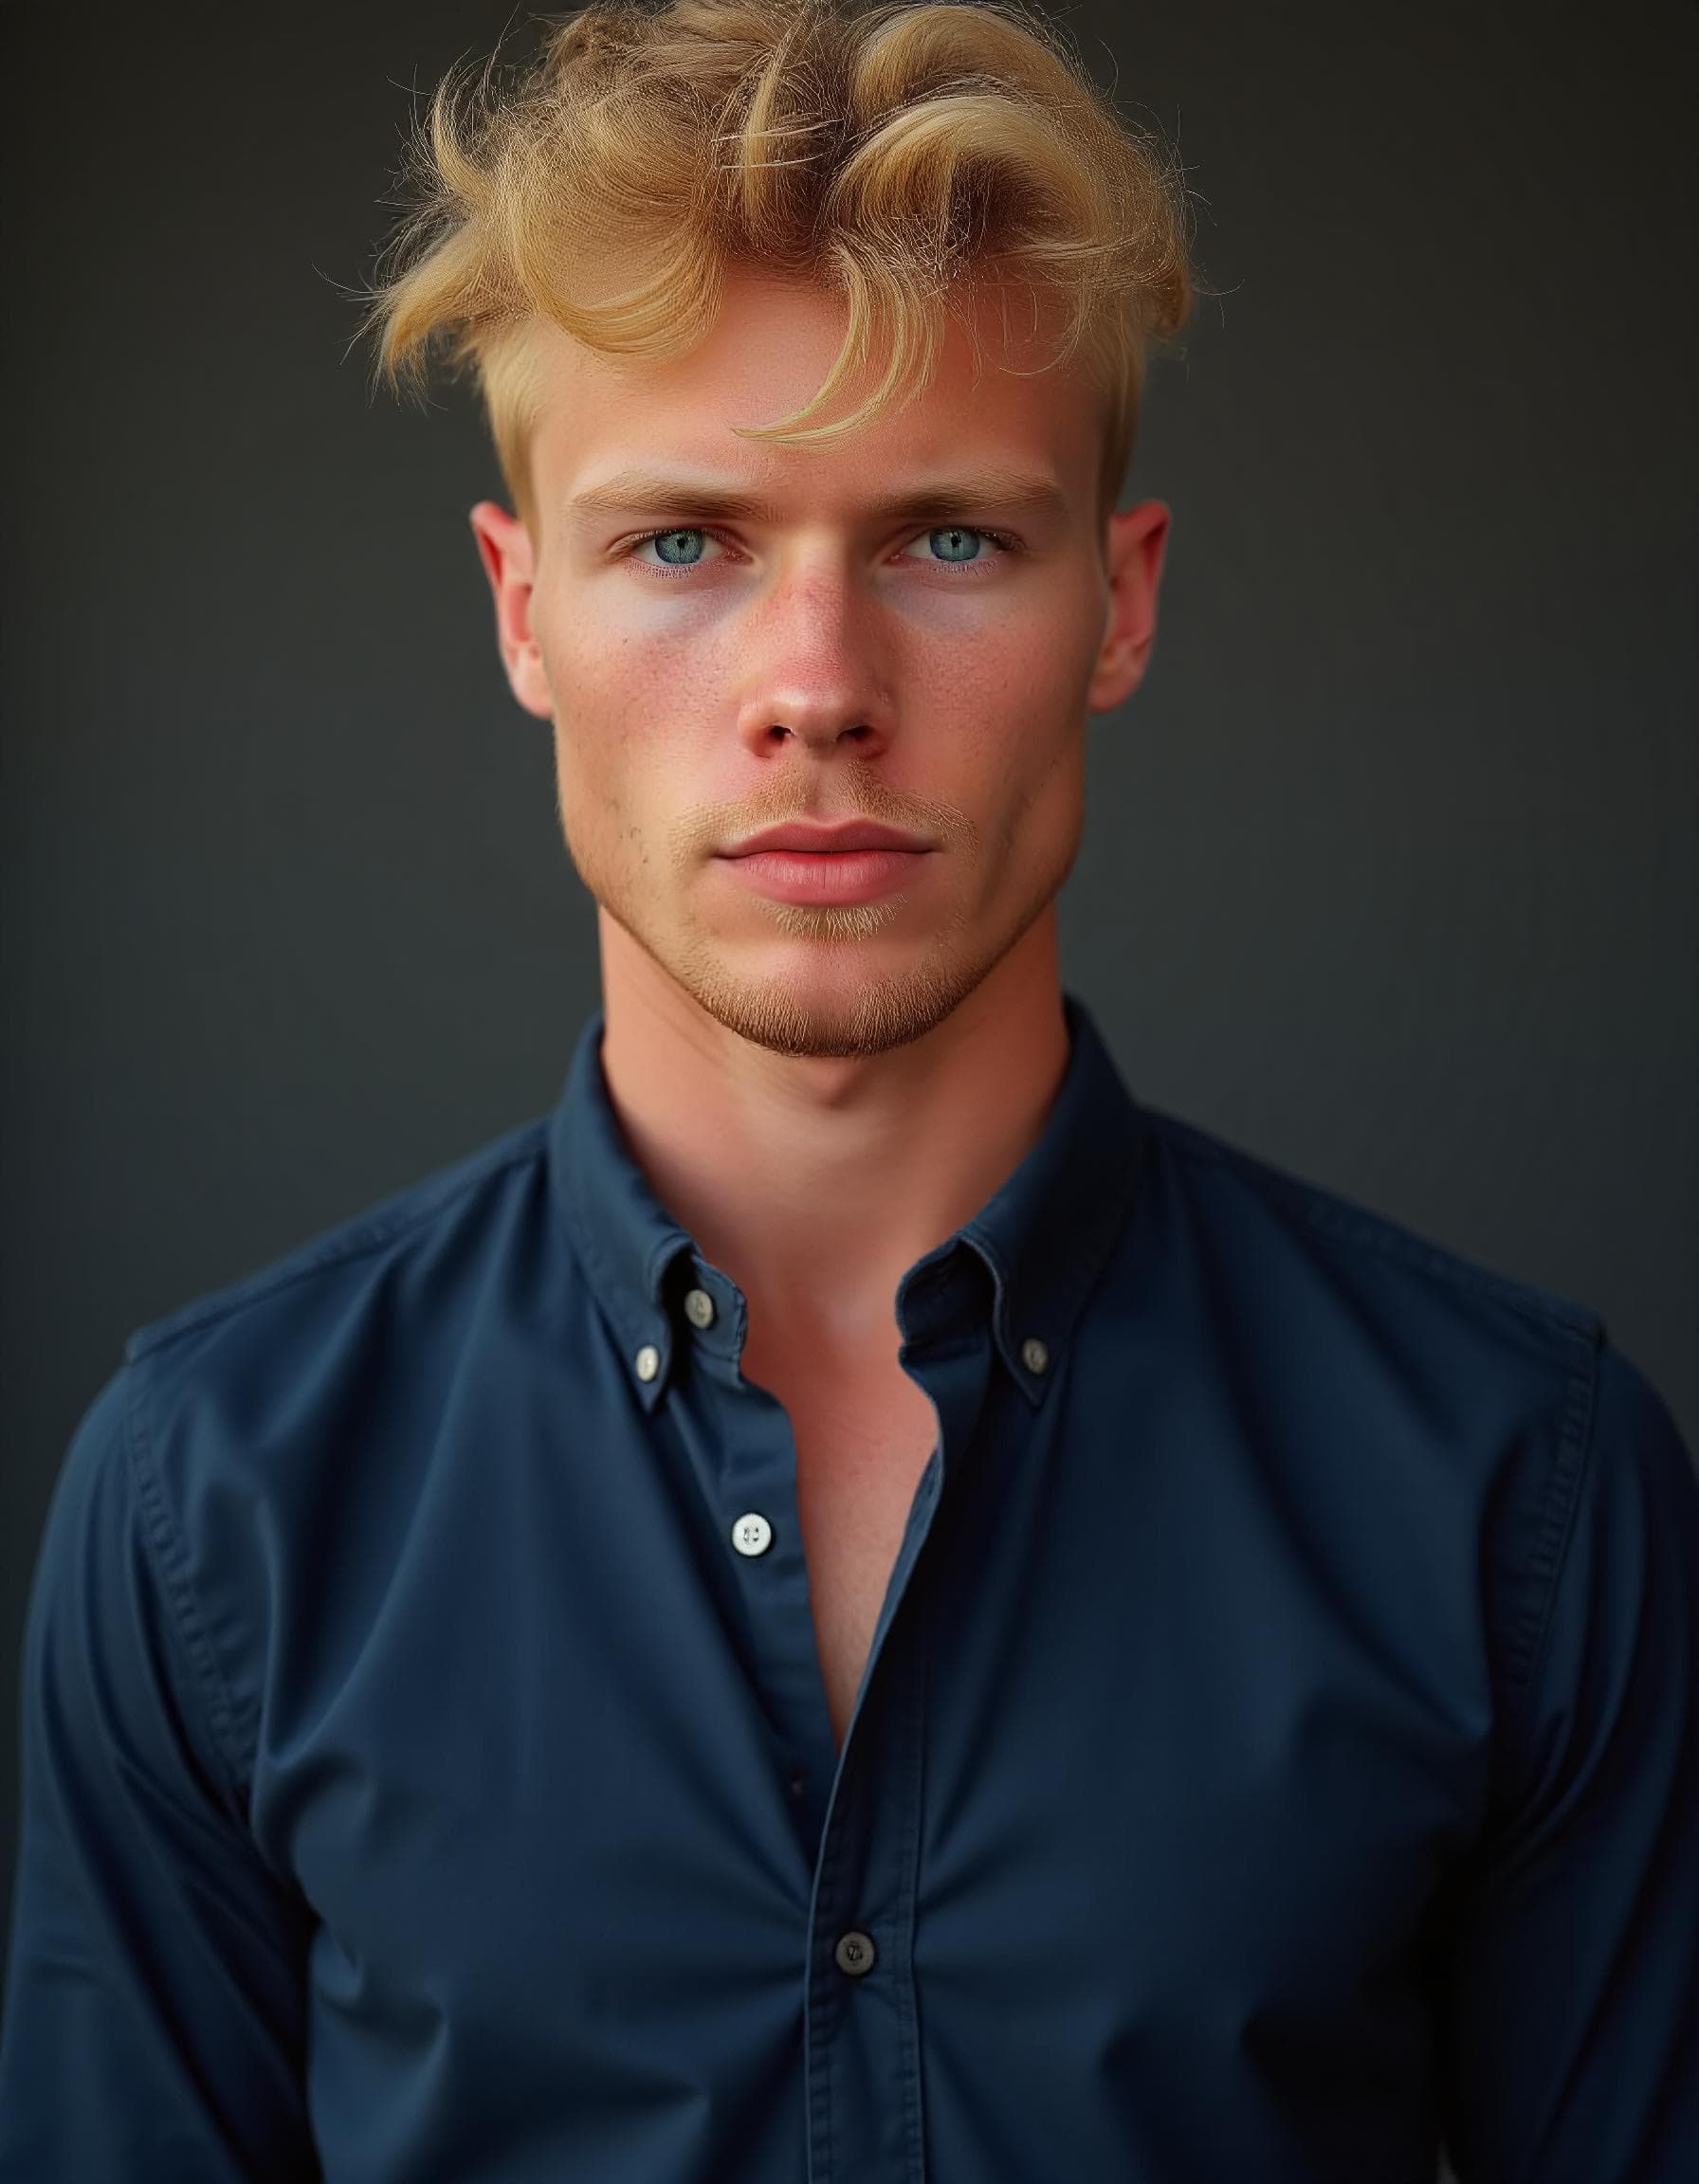
For a headshot, the goal is to look like a polished version of your everyday self. You don't need a dramatic haircut or heavy makeup. The aim is to appear clean, neat, and authentic.
Pay attention to small details, as they make a big difference. Ensure your hair is styled neatly. For men, a fresh shave or a well-trimmed beard is important. Your skin should look clean and natural. If you wear makeup, stick to a light, natural application that evens your skin tone and reduces shine. For more detail, a guide on shaping your eyebrows to complement your face shape can be helpful.
Taking care of these grooming steps ensures that small distractions don’t pull focus from your expression. When you feel good about how you look, that confidence shines through. This preparation is not only key for a great DIY photoshoot but also for creating excellent source images if you choose to use an AI headshot service.
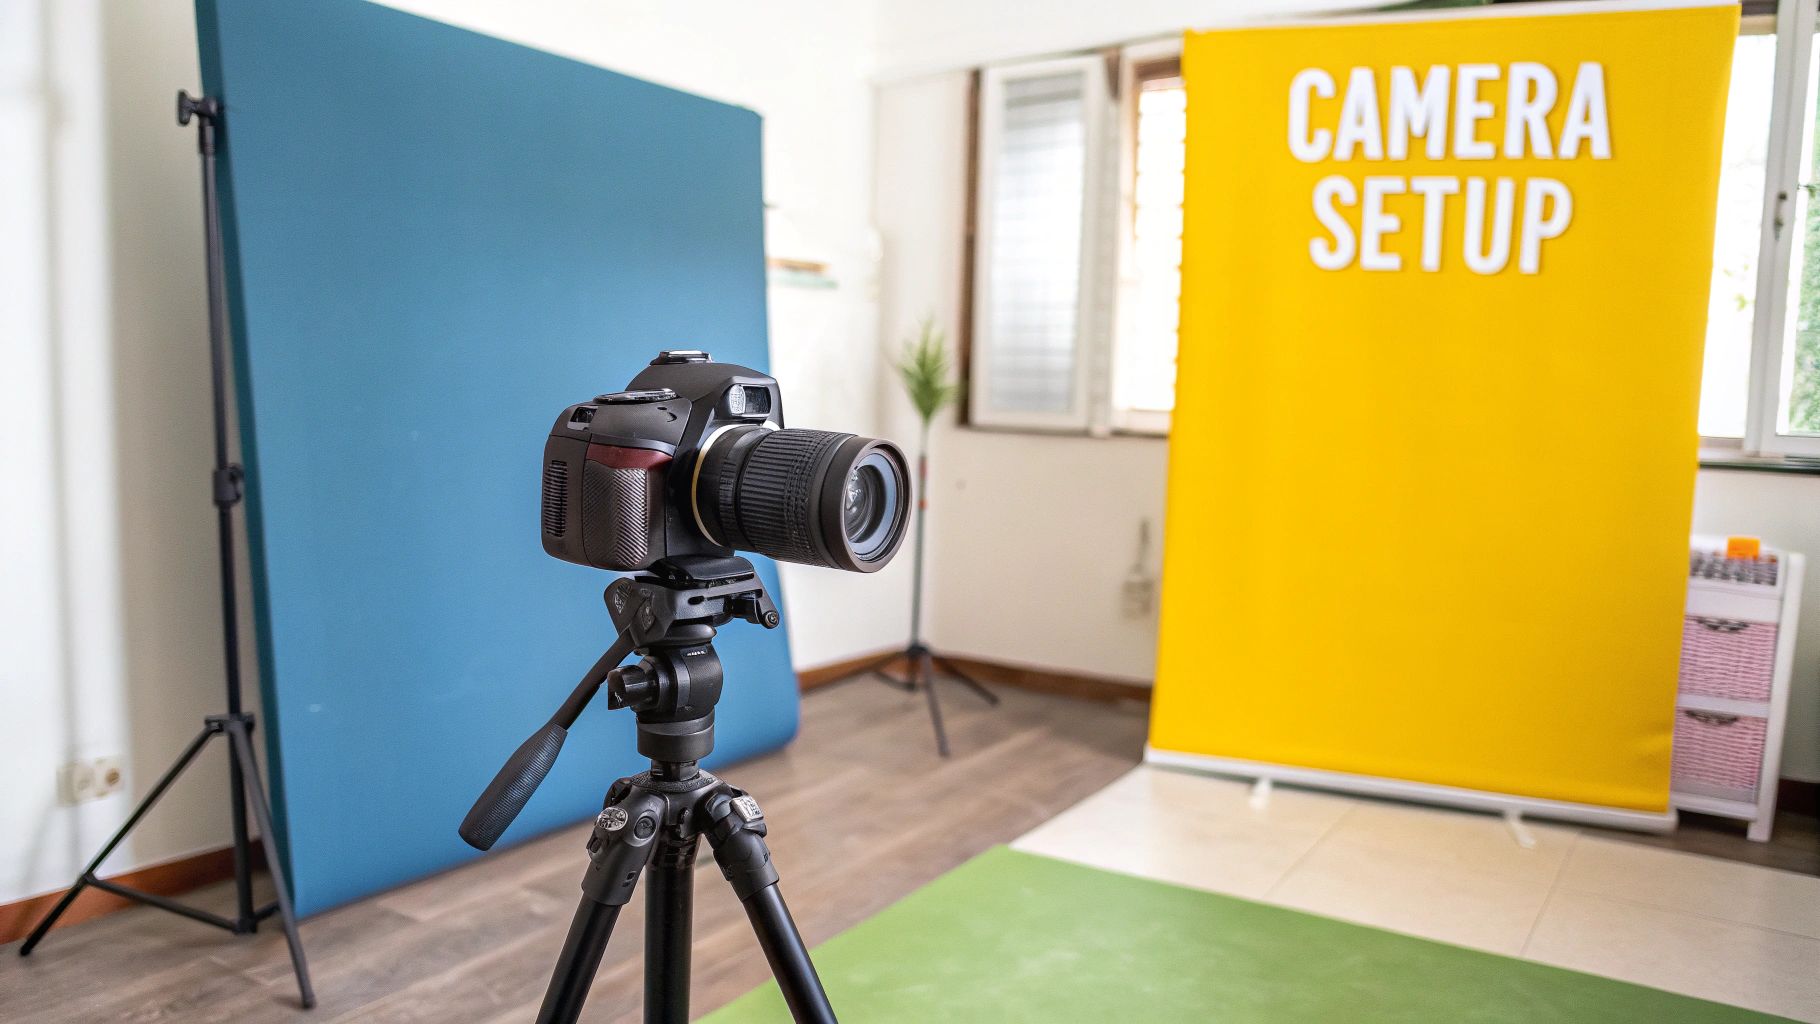
Creating Your Own Photo Studio at Home
You don’t need a fancy studio or expensive gear to get a high-quality, professional headshot. With a bit of creativity, you can turn a corner of your home into an effective setup. It all comes down to three things: your location, the lighting, and keeping your camera steady. If you get these elements right, you are 90% of the way to a great photo.
Find the Perfect Background
The best background for a headshot is one you don’t notice. Its job is to make you the center of attention. Look for a clean, simple wall in your home. A solid, neutral color like white, gray, or a soft beige is a safe and professional choice. Avoid busy patterns, distracting artwork, or cluttered bookshelves.
If you don't have a plain wall, you can hang a smooth, solid-colored bedsheet or tape up a large piece of poster board. Be sure to iron out any wrinkles first.
Pro Tip: A simple, uncluttered background instantly signals professionalism. It removes visual noise, ensuring the focus is squarely on you.
Once you’ve found your spot, stand about three to four feet away from the background. This creates a subtle depth that helps you stand out, making the final image feel more dynamic.
Master Natural Lighting
Good lighting is essential for a flattering headshot. The best light source is often free: a window. The soft, diffused light from a window provides ideal illumination, minimizes harsh shadows, and highlights your features.
Position yourself facing a large window, allowing the natural light to fall directly onto your face. Do not stand with the window behind you, as this will create a silhouette. Also, avoid direct, bright sunlight, which causes squinting and harsh shadows.
The trend for headshots is authenticity, with natural expressions and soft, approachable lighting. Natural light is perfect for achieving this modern look. You can explore more modern headshot styles to see how simple setups can have a huge impact. For better results, use a reflector to bounce light back onto your face, filling in any shadows. A large piece of white foam board or even a white t-shirt held out of frame works well.
Achieve Camera Stability
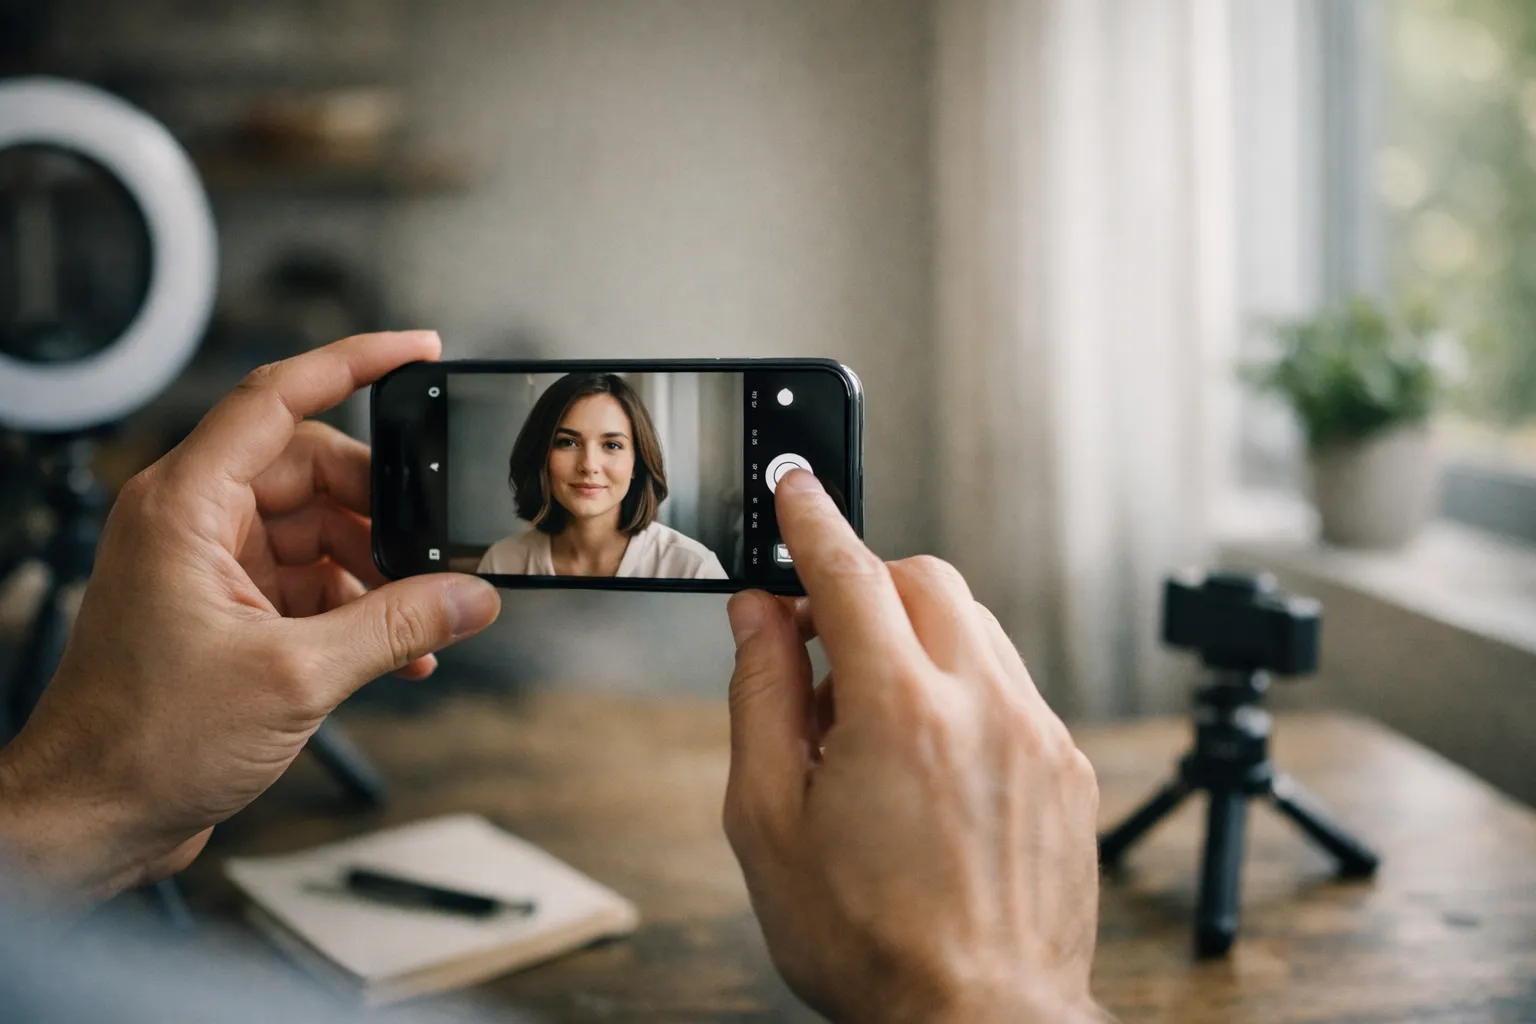
A blurry photo looks unprofessional. To get a crisp, sharp result, your camera or smartphone needs to be perfectly still. A tripod is ideal, but you can improvise by stacking books on a table or shelf until the camera lens is at your eye level. Shooting from eye level creates a direct, confident connection with the viewer.
To avoid camera shake from tapping the screen, use your phone’s self-timer. Setting it to three or five seconds gives you enough time to press the button, get into position, and settle your expression before the picture is taken.
A solid home studio doesn't require a big budget, just some practical knowledge. Here’s a quick checklist to help you gather what you need.
Your Home Studio Equipment Checklist
| Equipment | Recommended Option | Budget-Friendly Alternative |
|---|---|---|
| Camera | A modern smartphone (iPhone 12+, Google Pixel 6+, Samsung S21+) | Any smartphone with a decent camera |
| Backdrop | A 5' x 7' collapsible photography backdrop | A solid-colored wall, a smooth bedsheet, or poster board |
| Lighting | A large window with indirect natural light | A bright lamp with a white lampshade to diffuse the light |
| Light Modifier | A 5-in-1 collapsible reflector | A large piece of white foam board or a white t-shirt |
| Camera Support | A basic tripod with a phone mount | A stack of books on a stable surface (shelf or table) |
| Shutter Release | The phone's built-in self-timer (3-10 seconds) | The phone's built-in self-timer (3-10 seconds) |
By managing your background, lighting, and camera stability, you've created a solid foundation. These well-lit photos are also the ideal starting point for a service like our AI headshot generator.
Finding Your Confident Pose and Expression
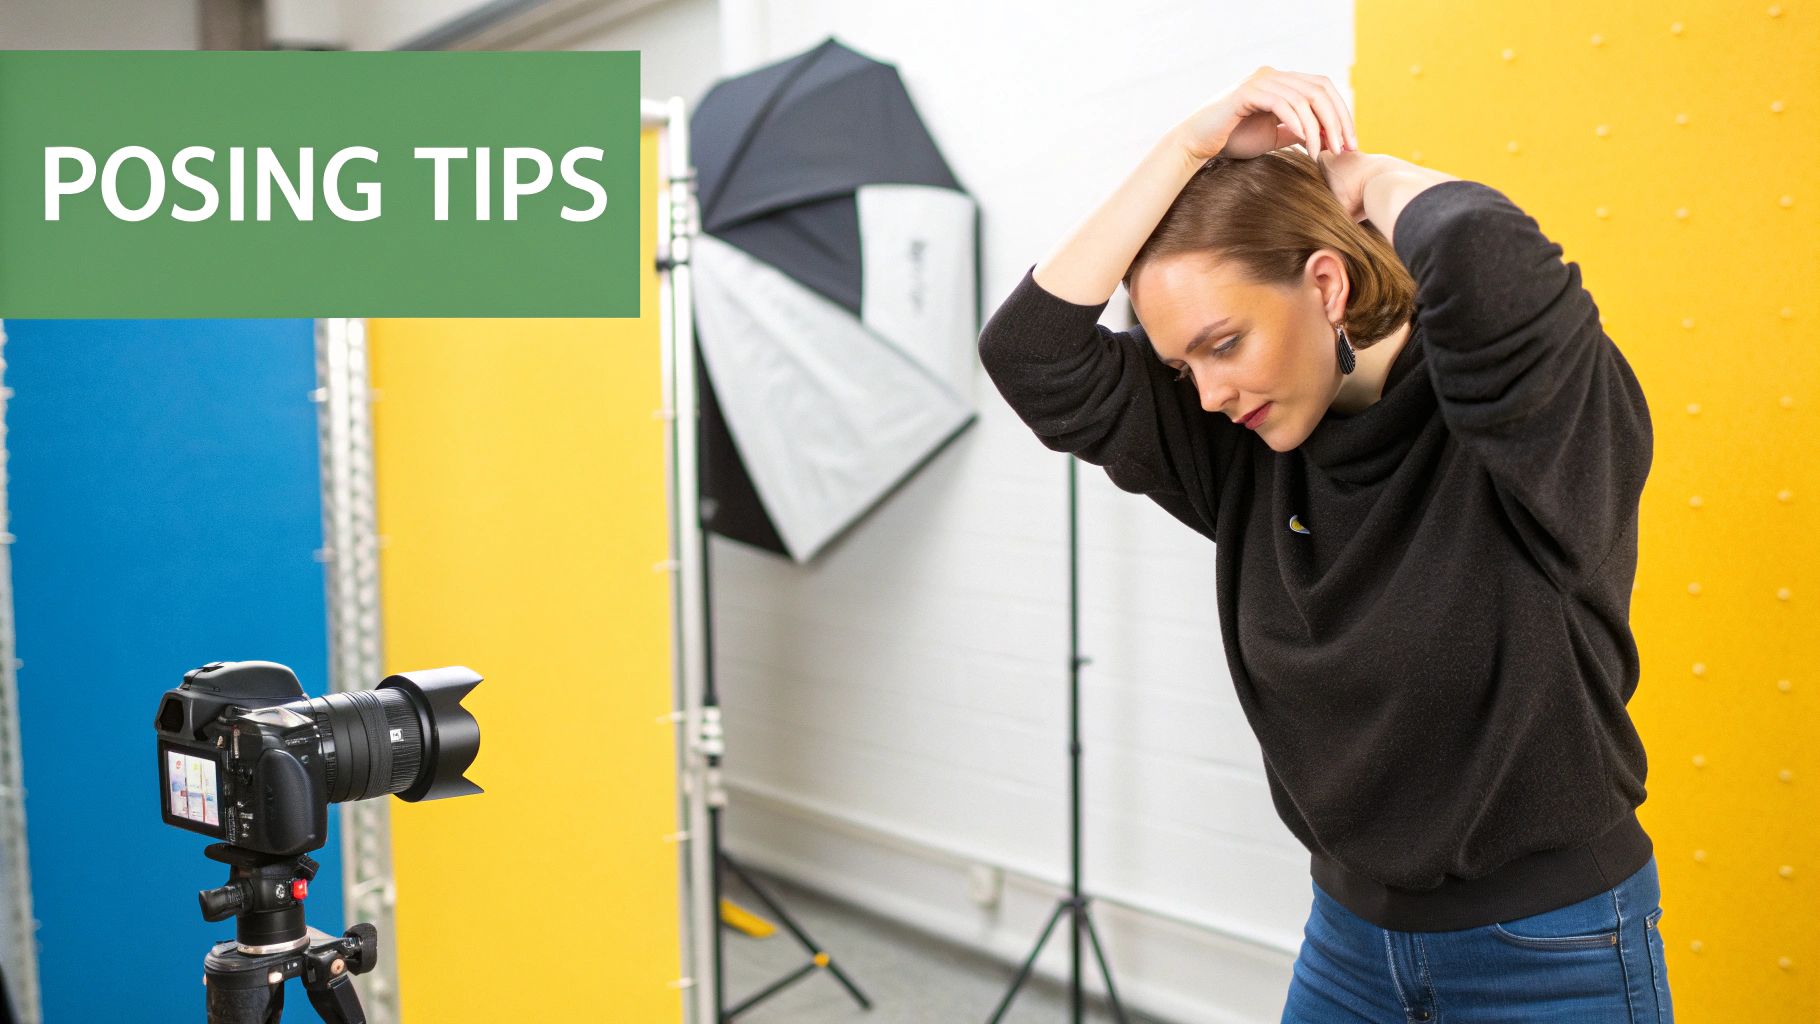
It's normal to feel a bit awkward in front of a camera. Looking confident isn't about being "photogenic"—it's about using a few simple techniques for body language and expression. The goal is to make small, intentional adjustments that communicate confidence and approachability.
Mastering Your Body Language
Your posture is the foundation of a powerful headshot. Stand or sit with your shoulders back and down, opening up your chest slightly. This simple adjustment makes you look more engaged and confident. Avoid slouching, which can signal disinterest.
A common mistake is facing the camera head-on with squared shoulders, which can appear confrontational. Angling your body slightly creates a more dynamic and flattering shape.
Try turning your body about 45 degrees away from the camera, then turn your head back to face the lens. This pose adds depth to the image, is universally flattering, and helps define your jawline.
Posing Techniques for a Natural Look
Once your basic stance is set, you can fine-tune it. These small adjustments create a sense of movement and prevent the photo from looking staged.
- Create Space: Avoid pressing your arms tightly against your body. If your hands are in the shot, try putting one in a pocket to create negative space that defines your frame.
- Lead with Your Forehead: Gently push your forehead slightly toward the camera. It may feel strange, but on camera, it works wonders for your jawline and helps eliminate a double chin.
- Lean In: A slight lean toward the camera makes you look more engaged and approachable. It's a non-verbal cue that conveys interest and openness.
Experiment with these adjustments while using your camera's self-timer. Take plenty of shots to have many options to choose from later.
Finding an Authentic Expression
Your expression is the most important part of your headshot. A forced smile can look amateurish. Aim for a genuine expression that shows both confidence and warmth. Instead of saying "cheese," think about something that makes you genuinely happy or proud. This will create a natural smile that reaches your eyes.
Another technique is the "squinch"—a slight tightening of your lower eyelids. It makes you look focused and confident, avoiding a wide-eyed look. Practice it in a mirror; the difference is subtle but effective. Finally, take a slow, deep breath right before the shutter clicks to relax your facial muscles.
When you combine these posing and expression techniques, you can capture an image that is both polished and authentically you. These skills are valuable whether you're taking DIY photos or preparing source images for an AI headshot generator.
Editing Your Photos for a Polished Finish
Capturing a good photo is a great start, but post-production is where you can refine the details and make your image stand out. You don’t need to be an expert in photo editing; a few simple adjustments can make a significant difference. The goal isn't to alter your appearance but to present the best possible version of the photo you took.
Essential Adjustments for a Professional Look
The most effective edits are often the most subtle, focusing on composition, light, and color.
Crop for Impact
A thoughtful crop can change the feel of your headshot. Position your eyes along the top third of the frame—a classic composition rule that works well. Leave a little "breathing room" above your head so the shot doesn't feel cramped. This creates a balanced image that draws the viewer's focus to you.
Fine-Tune Light and Color
Next, adjust brightness and contrast. If the photo is a bit dim, slightly increasing the brightness can bring it to life. A small increase in contrast can add depth and make details sharper. Finally, check the color balance. Indoor lighting can sometimes create a yellow or blue tint. Most editing apps have a "white balance" or "temperature" slider to fix this. Adjust it until the whites in the photo look clean and your skin tones appear natural.
Handling Minor Blemishes Authentically
It can be tempting to remove every tiny flaw, but authenticity is key. A professional headshot should look like you on your best day. Use a "spot heal" or "blemish remover" tool for temporary issues like a small pimple or a stray hair. Avoid blurring your skin or erasing natural lines, as over-editing can make a photo look artificial and harm your credibility.
Your headshot represents your professional self. Minor edits enhance the photo's quality, while heavy-handed ones can undermine your personal brand.
This is where many DIY headshots can be improved. While editing apps offer control, AI-generated headshots have emerged as a powerful and efficient alternative. For a deeper look at how these options compare, you can explore more insights on modern headshot costs.
The AI Alternative for a Perfect Finish
If you have taken some good photos but prefer to avoid manual editing, AI offers a great solution. Instead of spending time adjusting sliders, you can upload your best shots and let an algorithm handle the technical work. AI-powered services can generate a gallery of studio-quality options from your original photos, automatically fixing lighting, swapping in professional backgrounds, and polishing every detail.
For busy professionals, job seekers, and remote workers who need a great headshot quickly, this approach is highly effective. It combines the convenience of a DIY shoot with the polished finish of a professional studio.
A Few Final Questions About DIY Headshots
Here are answers to a few common questions that arise when taking your own professional headshot.
When’s the Best Time of Day to Use Natural Light?
If you're using sunlight, timing is important. For a soft, flattering glow, shoot during the "golden hours"—the period shortly after sunrise or just before sunset. The low sun provides warm light that minimizes harsh shadows. If the golden hours aren't possible, an overcast day is your next best option, as the clouds diffuse the sunlight for even illumination.
Avoid shooting in direct, midday sun. It creates deep, unflattering shadows and will cause you to squint, which is not the confident look you want.
How Often Do I Really Need a New Headshot?
A good rule of thumb is to update your headshot every one to two years. Your photo should be a current, accurate reflection of who you are. You should also get a new photo sooner if you make a major change to your appearance, such as:
- A significantly new haircut or color
- Growing or shaving a beard
- Getting new glasses that you wear regularly
Keeping your photo current is a simple way to build trust and maintain a professional image.
What Are the Biggest Mistakes People Make?
When you are both the photographer and the subject, it's easy to miss some details. Here are three common pitfalls to avoid:
- A busy, distracting background: Clutter or loud patterns behind you pull attention away from your face. Find a simple, neutral spot like a plain wall.
- Bad lighting: Never stand with a bright light source behind you, as you will end up as a silhouette. Always face the light so it illuminates your features clearly.
- Awkward posing and forced smiles: Stiff shoulders and an unnatural grin look unprofessional. Relax your shoulders, angle your body slightly, and think of something that makes you genuinely happy for an authentic expression.
Avoiding these simple mistakes is key to creating a photo that looks polished and credible. A strong source image makes all the difference, whether you're editing it yourself or using an AI tool for the final touch.
Taking your own headshot is an achievable goal. For those who want to ensure a perfect, studio-quality result without the hassle, exploring an AI-based service is a great next step. AI powered headshots can turn your best photos into an entire portfolio of professional headshots designed to help you make a great first impression.