The secret to a great AI headshot isn't just the technology—it's the selfies you provide. The process is a partnership between you and the AI. When you upload clear, well-lit photos, the AI has the right material to generate a polished, professional headshot that truly looks like you.
This guide provides a simple, step-by-step tutorial for taking the perfect selfie to use with an AI headshot tool. A few small adjustments to your photos can make a significant difference in the quality of your final results.
Why Your Selfies Are Crucial for a Great AI Headshot
An AI headshot generator learns your facial features exclusively from the images you upload. It doesn't create a 3D model of your head; instead, it analyzes the pixels and details in your photos to reconstruct your appearance in new, professional settings.
The principle of "garbage in, garbage out" applies perfectly here. If your selfies have poor lighting, strange shadows, or blurry details, your final headshots will reflect those issues. Good photos in, great headshots out.
Giving the AI the Right Data to Learn From
Think of it like teaching someone to recognize you. You wouldn't show them a single, dark photo taken from an odd angle. You would provide several clear pictures from different perspectives so they can understand your features.
Here is what the AI needs to see in your photos:
- Facial Structure: The AI needs to identify your jawline, cheekbones, nose, and the overall shape of your face. Good, even lighting is essential for this, as shadows can obscure these details.
- Skin Tone: Natural light helps the AI capture your true skin tone. Artificial indoor lights often cast a yellow or blue hue, which can confuse the algorithm and lead to unnatural results.
- Unique Features: A variety of expressions and slight angle changes help the AI understand what makes you look like you. Freckles, smile lines, and the specific arch of an eyebrow are details that make a headshot feel authentic.
When you take the time to prepare your input photos, you guide the AI toward creating an image you’ll be proud to use on your LinkedIn profile or company website. When you are ready to see the results, the AI Headshot generator at Headyshot can transform your quality selfies into professional images.
Step 1: Find the Best Lighting
Lighting is the single most important factor for a great selfie. The good news is you don't need professional studio equipment. The best light source is often free: natural daylight. It allows the AI to see your features clearly and accurately, which is the foundation of a headshot that looks like you.
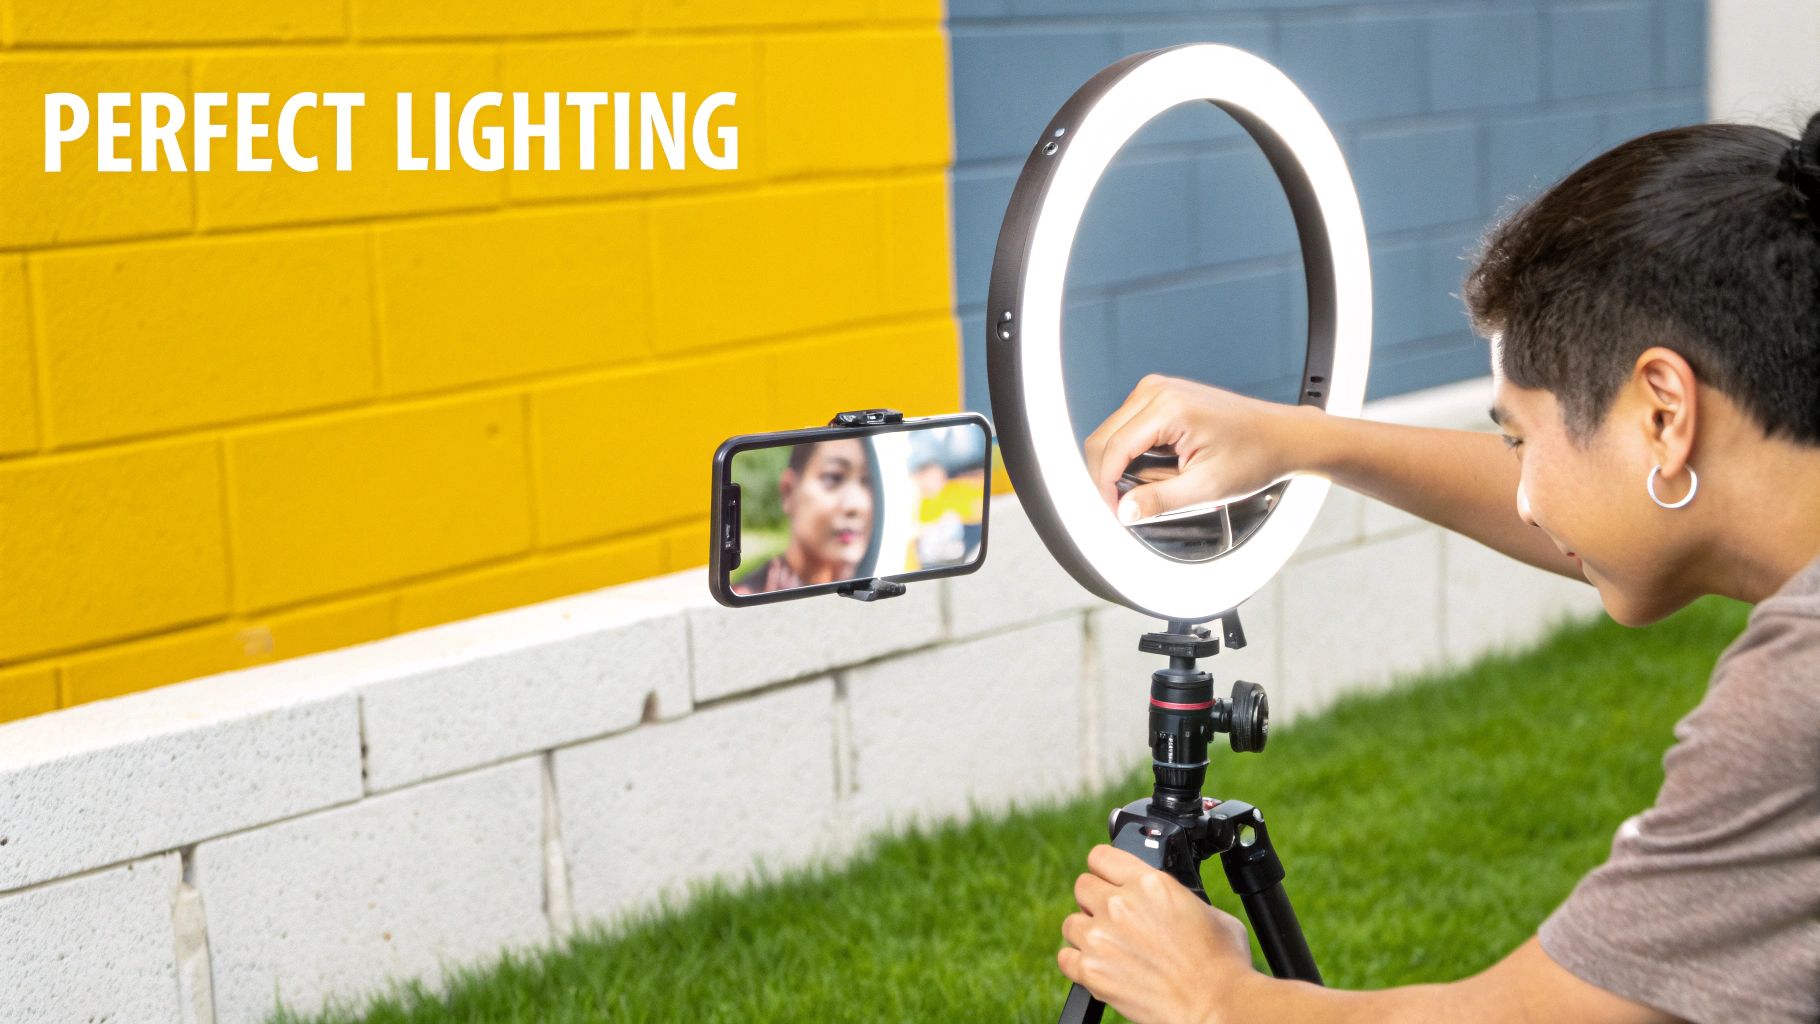
The easiest way to achieve soft, flattering light is to stand facing a large window. You want the indirect sunlight to illuminate your face evenly. This simple setup helps prevent the harsh shadows caused by direct sun or overhead room lights.
Finding Good Light Indoors
If it's a cloudy day or you're taking photos at night, you can still achieve great results. Find a lamp with a lampshade. The shade acts as a diffuser, softening the light and creating an effect similar to natural daylight.
Avoid these common lighting mistakes:
- Backlighting: Never stand with a bright window or lamp behind you. You will appear as a dark silhouette, and the AI will not be able to see your facial details.
- Overhead Lighting: Standard ceiling lights cast strong shadows under your eyes and nose, which can alter your appearance in the final headshot.
- Mixed Lighting: Try to use a single type of light. Combining daylight from a window with the yellow tint of an indoor bulb can confuse the AI about your true skin tone.
Helpful Tip: Hold a plain white sheet of paper just below your chin (out of the camera's view). It will act as a reflector, bouncing light upward to soften any shadows under your jawline. This simple trick makes a noticeable difference.
Mastering these lighting basics is the most critical step in learning how to take a selfie for an AI headshot. A clear, well-lit photo gives the AI the high-quality data it needs to perform well.
Once your selfies are ready, you can try an AI Headshot generator and see how it transforms your photos into a set of professional portraits.
Step 2: Frame Your Selfie for a Professional Look
How you frame your selfie tells the AI what to focus on. For a professional headshot, the subject is you—not the background.
Choose a simple, neutral background. A plain wall in a color like white, gray, or beige works perfectly. A clean background helps the AI concentrate on your facial features without being distracted by a cluttered room or busy pattern.
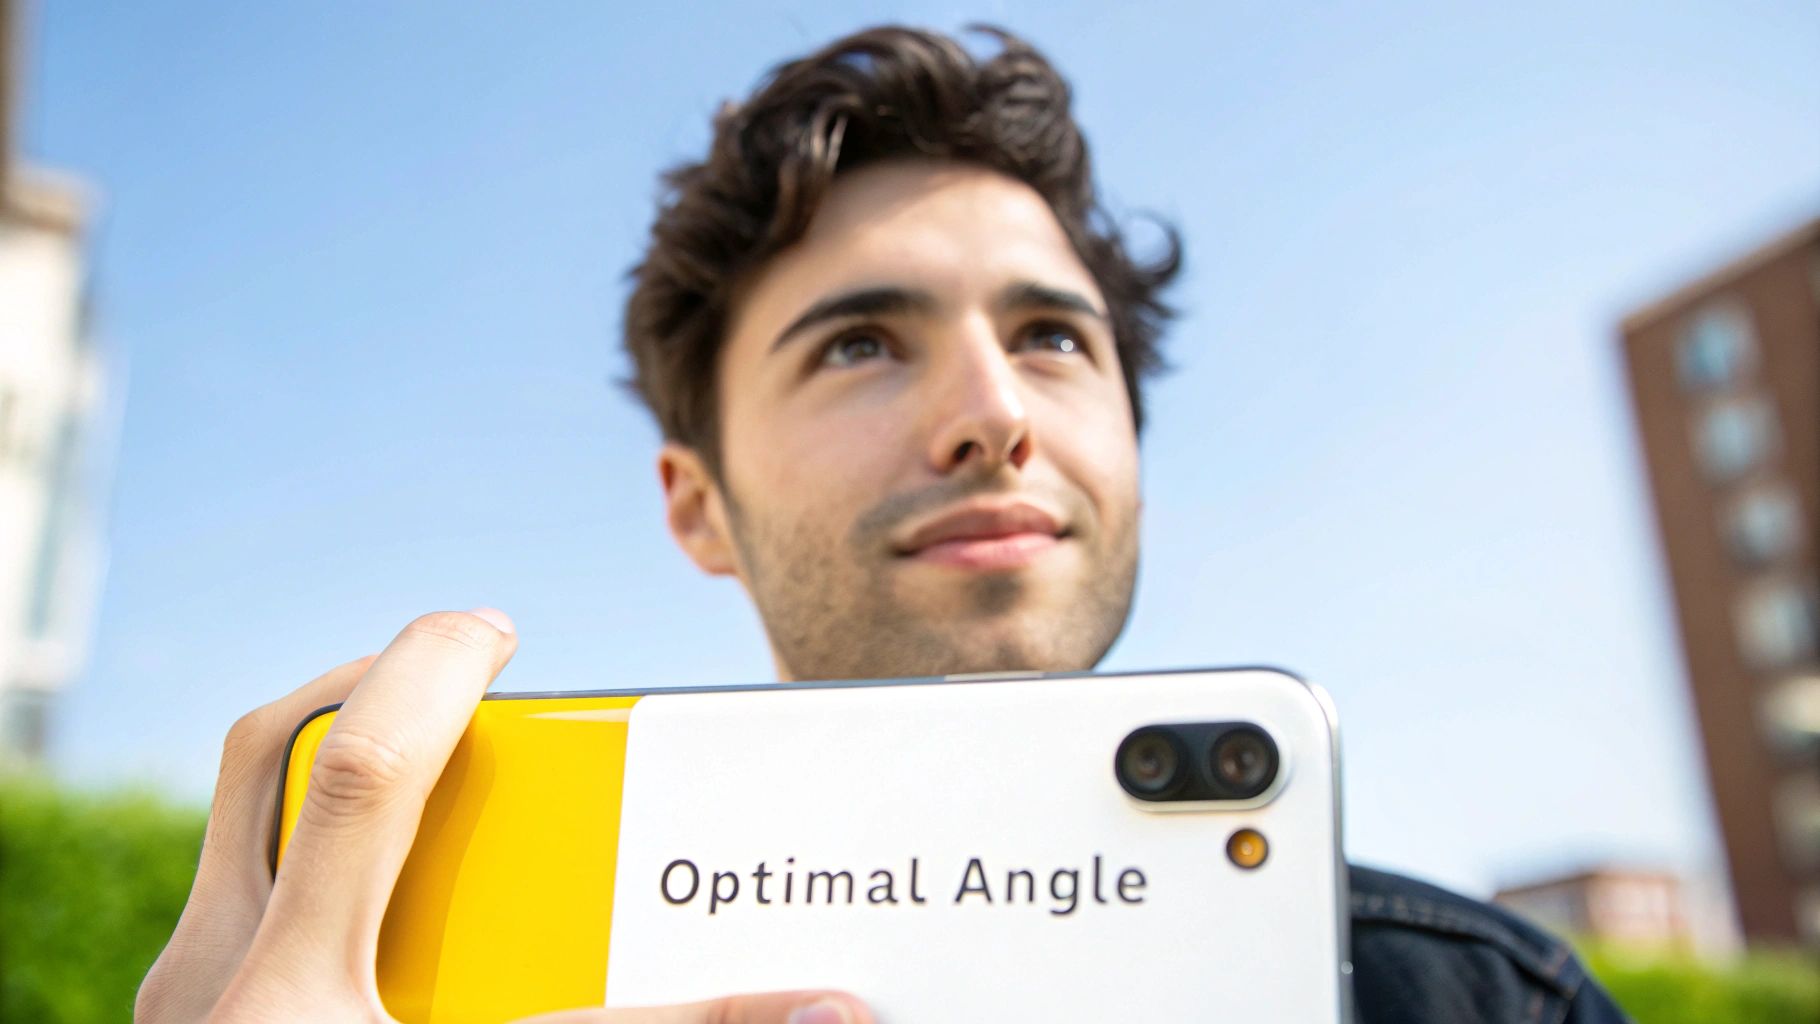
For camera position, hold your phone at arm's length and slightly above your eye level, angled slightly down. This is a universally flattering angle that helps define the jawline and creates a more confident and engaged look.
Composing the Shot
The goal is to capture a classic "bust shot," which is standard for professional platforms like LinkedIn. This means your head and shoulders should be centered and clearly visible. Avoid getting too close to the camera or standing too far away.
Before taking the picture, tap on your face on your phone's screen. This locks the camera's focus on you, ensuring your features are sharp and clear. It’s also a good idea to take a few extra shots, turning your head slightly to each side. This gives the AI more information about the shape of your face, which often leads to more dynamic and realistic final headshots.
For a deeper dive, our german guide on how to take the perfect selfie has even more detailed tips.
This visual guide summarizes the key points for framing.
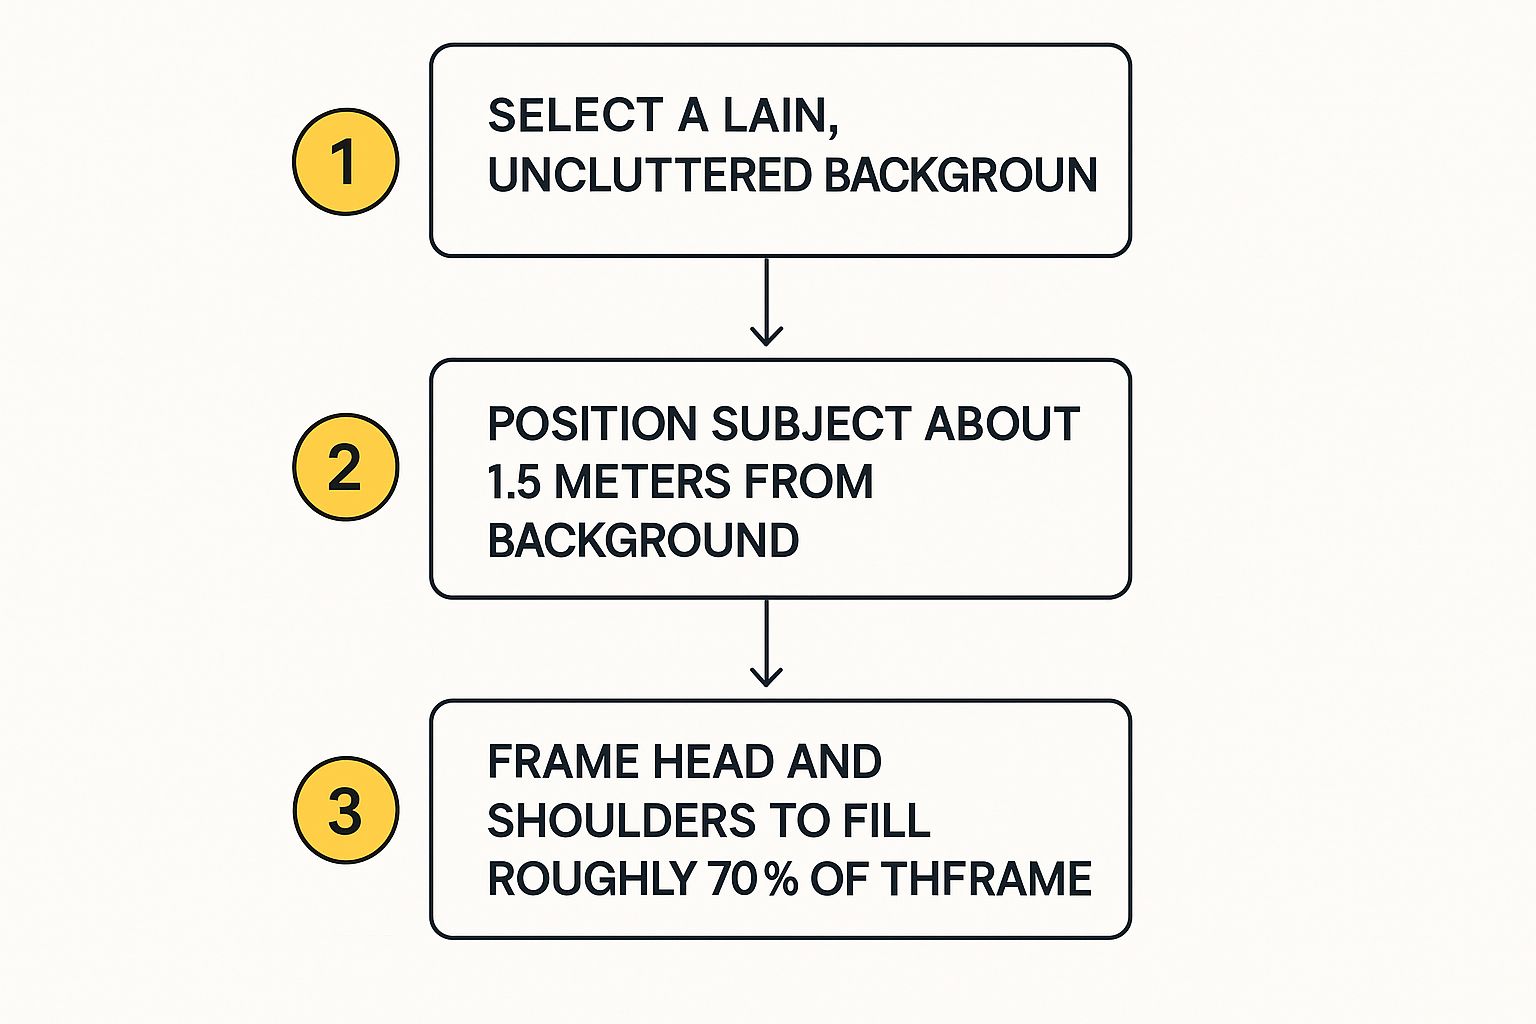
As you can see, getting the background and framing right is all about guiding the AI's focus.
Here is a quick reference table with simple do's and don'ts.
Selfie Do's and Don'ts for AI Headshots
| Do This | Don't Do This |
|---|---|
| Shoot against a plain, neutral wall. | Take photos in a cluttered room or busy setting. |
| Position the camera slightly above eye level. | Shoot from a low angle. |
| Tap your face on the screen to lock focus. | Let the camera auto-focus on the background. |
| Capture your head and shoulders in the frame. | Crop the photo too tightly or stand too far away. |
| Take multiple shots with slight head turns. | Submit only one photo from a single angle. |
Keep these pointers in mind, and you will provide the AI with the best possible material to work with.
Step 3: Choose Your Outfit and Expression
Your clothing and expression add personality and professionalism to your headshot. When selecting an outfit, ask yourself: "What would I wear to an important job interview or client meeting?" This is a great starting point.
Solid-colored tops are an excellent choice. Simple, classic necklines like a crew neck or a subtle V-neck work well because they keep the focus on your face. It is best to avoid busy patterns, large logos, or distracting jewelry, as these can confuse the AI and make your headshot look dated quickly.
Finding Your Natural Look
Your expression is just as important as your outfit. Aim for a relaxed, natural look that communicates confidence and approachability. A forced, wide grin can seem insincere, while a completely blank expression may appear cold.
Helpful Tip: Just before you take the picture, think of a genuinely happy memory or someone who makes you laugh. This often brings out a soft, authentic smile that brightens your entire face.
For a polished and professional aesthetic, drawing inspiration from current Japanese beauty trends can be a great way to achieve a clean, radiant look that translates beautifully in photos.
It is also helpful to provide the AI with a few different expressions. Try to capture a small variety of photos that include:
- A gentle, closed-mouth smile.
- A more thoughtful, neutral expression.
- A confident, open-mouthed smile (if it feels natural to you).
This variety is crucial. It gives the AI the data needed to generate a versatile set of final images, ensuring you have the perfect headshot for everything from a friendly LinkedIn profile to a formal corporate biography.
Understanding the Value of AI in Your Career
Knowing how to effectively use AI tools is becoming a valuable skill in today's professional landscape. AI-generated headshots are a prime example of how technology can help professionals, especially job seekers and remote workers, build a polished brand without the traditional time and expense.
Instead of booking a photographer and spending hundreds of dollars, you can now generate a full portfolio of professional headshots from home in minutes. This is not a small trend. The global AI market was valued at $279 billion in 2024 and is projected to reach $1.8 trillion by 2030. A significant portion of this growth comes from image generation tools used for personal and professional branding.
As this technology becomes more mainstream, the key differentiator is not the AI itself, but the quality of the photos you provide. Your ability to supply excellent source images is what separates a fantastic result from a mediocre one.
When you master how to take a selfie for an AI headshot, you are doing more than just taking a picture. You are learning to collaborate with AI to create a stronger, more compelling professional identity.
This partnership produces authentic headshots that help you make a genuine impact online.
Final Checklist Before Uploading Your Selfies
You now have a collection of selfies ready for the AI. Before you upload them, take a moment for a final quality check. This is your last opportunity to influence the outcome, so it's worth the extra few minutes.
The Last-Minute Quality Check
First, review your selected photos. Are they all consistently lit? Is the background similar in each one? A cohesive set is ideal. Ensure your face is sharp and in focus in every shot—blurry photos are not suitable for the AI.
Also, double-check your expressions. You should have a mix of subtle smiles, neutral looks, and slight head tilts. This variety gives the AI enough data to create a range of professional and believable headshots.
What to Avoid
This is critical: do not use filters. Social media filters may seem fun, but they alter your facial structure and skin texture, which confuses the AI and often produces unnatural results. It's always best to focus on avoiding filters for professional images.
While you're at it, make sure you've removed anything that obscures your face.
- Sunglasses
- Hats or beanies
- Hair falling across your eyes
Think of it as giving the AI a clean, clear blueprint of your face to work with.
The effort pays off. A product designer reported that his LinkedIn profile views tripled after updating to an AI photo. Another client, a sales coach, saw a 42% increase in new inquiries. The right headshot can make a real business impact. Learn more about the business impact of AI headshots.
You’ve done the preparation and learned how to take the perfect selfie for an AI headshot. Now, you’re ready to see what this technology can do for you. We invite you to explore our AI Headshot generator and create your own set of professional photos.
Frequently Asked Questions About AI Headshot Selfies
Taking selfies for an AI headshot generator can raise a few questions. Understanding the process helps ensure you get the best possible results. Let's cover some of the most common inquiries.
How Many Selfies Should I Upload?
For the best outcome, aim to upload between 10 to 15 high-quality selfies. This range gives the AI system enough visual information to understand your unique facial features from various angles and with different expressions. More data points lead to more accurate, realistic, and varied headshots in your final gallery.
Do I Need to Smile in Every Photo?
No, and in fact, it is better to provide a variety of expressions. Include some photos with a soft, natural smile and others with a more neutral, confident look. This variety is key because it allows the AI to generate headshots suitable for different professional contexts, from a friendly team page to a formal LinkedIn profile.
Can I Wear My Glasses?
If you wear glasses daily and they are part of your professional identity, you should wear them in some of your photos. The most important thing to watch for is glare. Bright reflections on your lenses can prevent the AI from seeing your eyes clearly, which can negatively affect the final result. Take your photos in soft, diffused light to minimize this risk.
A modern smartphone camera is more than sufficient for great results. Just be sure to use the higher-quality rear-facing camera and avoid using any portrait modes or filters that might distort your features.
The rapid growth of this technology is not surprising. By late 2024, the market for AI headshot generators was already valued at over $200 million and is expected to climb past $350 million by 2025. You can dive deeper into the numbers with this AI headshot market research on betterpic.io.
Now that you know exactly how to take a selfie for AI headshot creation, you have all the tools for success. We encourage you to explore our AI Headshots Solution and create your own professional photos.