Yes, you can take a professional-looking headshot with your iPhone. With the right lighting, a clean background, and a few key camera settings, the powerful camera in your pocket can deliver a fantastic portrait for your LinkedIn profile, resume, or business website.
Why Your iPhone Is a Powerful Headshot Tool
The idea that a great headshot requires an expensive studio session is outdated. The camera technology in modern smartphones has advanced so much that it can produce high-quality, professional images. This makes it easier for anyone—from seasoned professionals to job seekers—to capture a polished photo.
You don't need the latest model to get a great result. The cameras on most recent iPhones are more than capable of producing excellent photos. The annual iPhone Photography Awards showcase breathtaking portraits taken on various models, proving you have the right tool for the job.
Comparing Your Headshot Options
Before we dive into the "how-to," it is helpful to understand your options. Here is a brief comparison of different headshot methods to help you choose the best fit for your goals and budget.
| Method | Average Cost | Turnaround Time | Key Benefit |
|---|---|---|---|
| Traditional Studio | $250 - $1,500+ | 1-2 weeks | Expert guidance and top-tier equipment |
| DIY with iPhone | Free | Immediate | Complete creative control and no cost |
| AI-Generated | $20 - $50 | Under 24 hours | Speed, variety, and convenience |
As you can see, each approach has its benefits. A traditional studio shoot is the classic route, but it requires a significant investment of time and money.
On the other hand, the DIY approach and AI-powered services offer more flexibility. A Headshot AI provides an excellent middle ground. You upload a few casual photos from your phone, and it generates a gallery of professional headshots. It’s a convenient option that delivers high quality without the logistics of a physical photoshoot.
This guide will focus on mastering the DIY route. It's a valuable skill that gives you total control, and with the following tips, you can capture a great headshot whenever you need one.
Finding the Perfect Light and Background
Before you open your iPhone's camera app, you need to find good light. Excellent lighting is the single most important element that separates a professional-looking headshot from a casual snapshot. The best light source is often free.
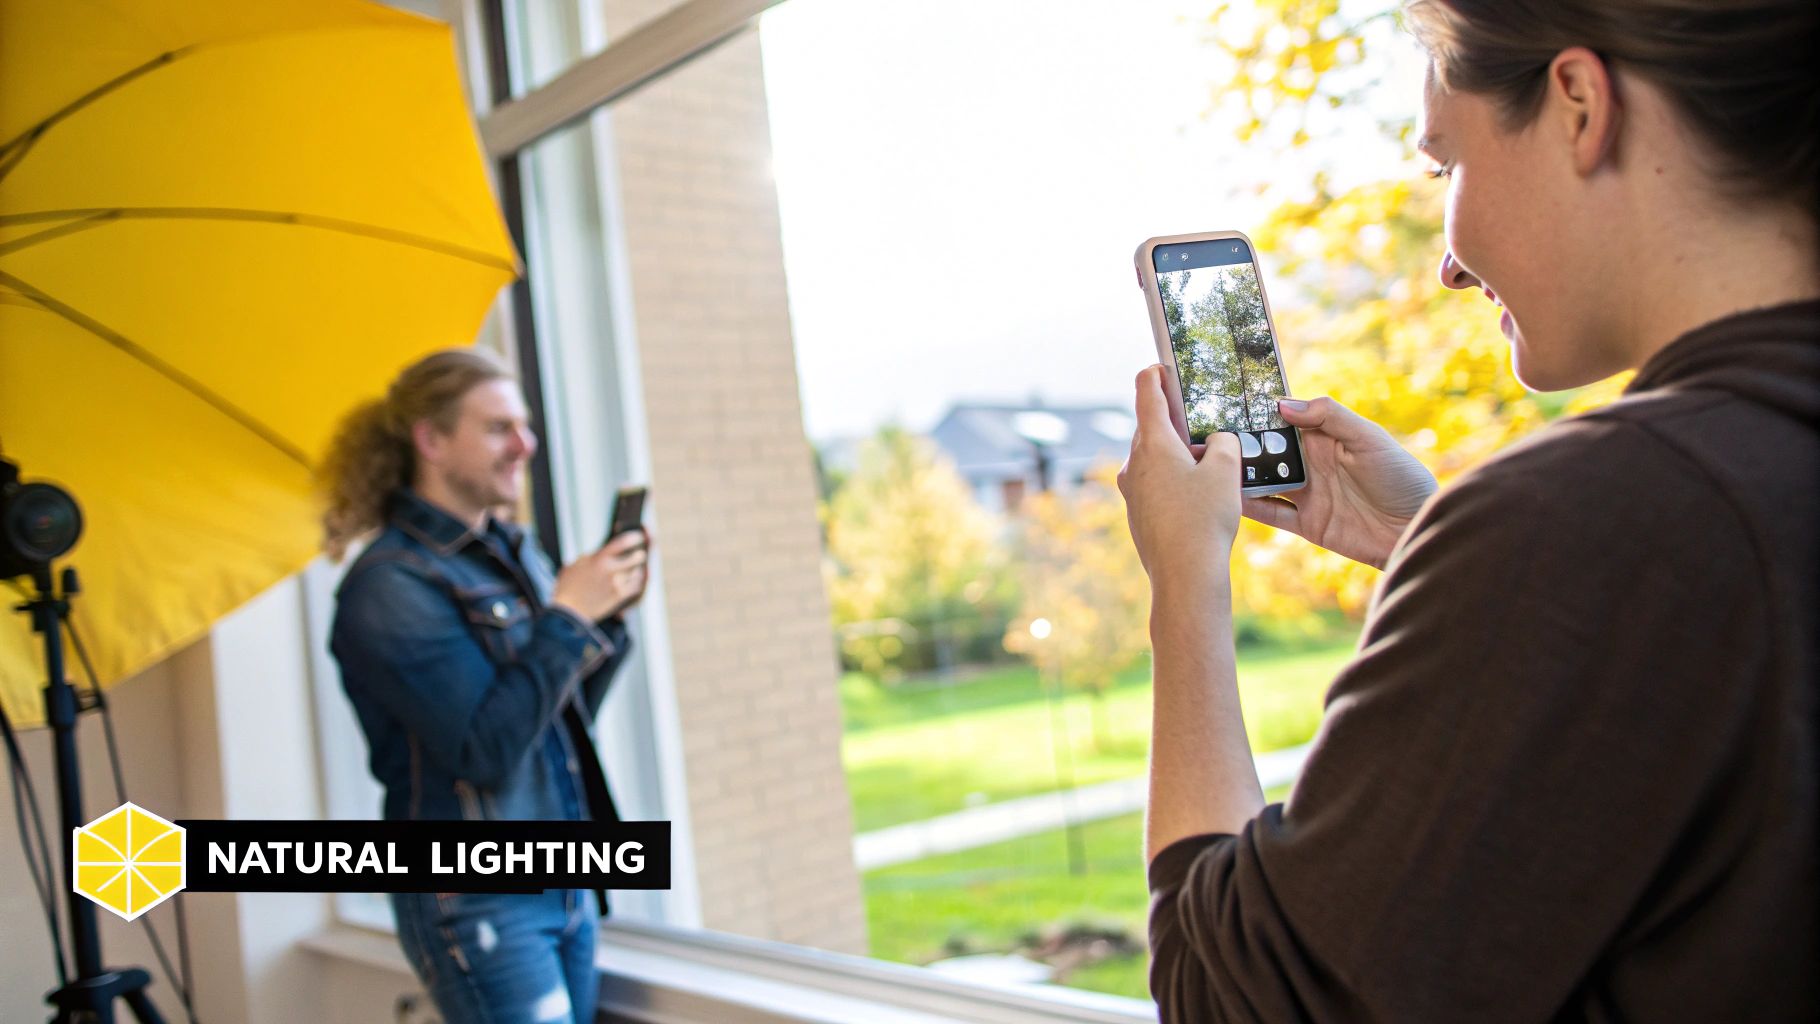
Natural light is your best option. Avoid indoor lighting like office fluorescents or warm lamps, as they can cast unnatural colors and harsh shadows. Look for soft, diffused light that is flattering to your features.
The easiest way to find this is to stand facing a large window. An overcast day is even better, as clouds act like a natural diffuser, scattering sunlight to create an even glow. This is a technique professional photographers use to make people look their best without complex studio equipment.
Mastering Your Environment
Once you have your light, consider your background. A cluttered or distracting background can make a photo look unprofessional. The focus should be entirely on you.
A simple, clean backdrop is the safest choice. A solid-colored wall in a neutral shade like off-white, gray, or dark navy works well. For more personality, a tidy bookshelf or a simple outdoor scene (like a blurred garden) can add character without stealing the focus.
Key Takeaway: You should be the most interesting thing in the frame. If your background is competing for attention, find a different spot.
What to Avoid
Knowing what not to do is just as important as knowing what to do. A few common mistakes can ruin an otherwise good headshot.
Here's what to steer clear of:
- Direct Sunlight: Shooting in harsh midday sun creates deep, unflattering shadows and will cause you to squint.
- Busy Backgrounds: A messy room, a wall with loud patterns, or a crowded street will draw the viewer's eye away from your face.
- Backlighting: Never stand with a bright light source, like a window, directly behind you. You will appear as a dark silhouette. Always face your light source.
How to Set Up Your iPhone for Portraits
Once your lighting and background are ready, it’s time to adjust your iPhone's camera settings. Taking control of these settings can make your phone perform like a much more expensive camera.
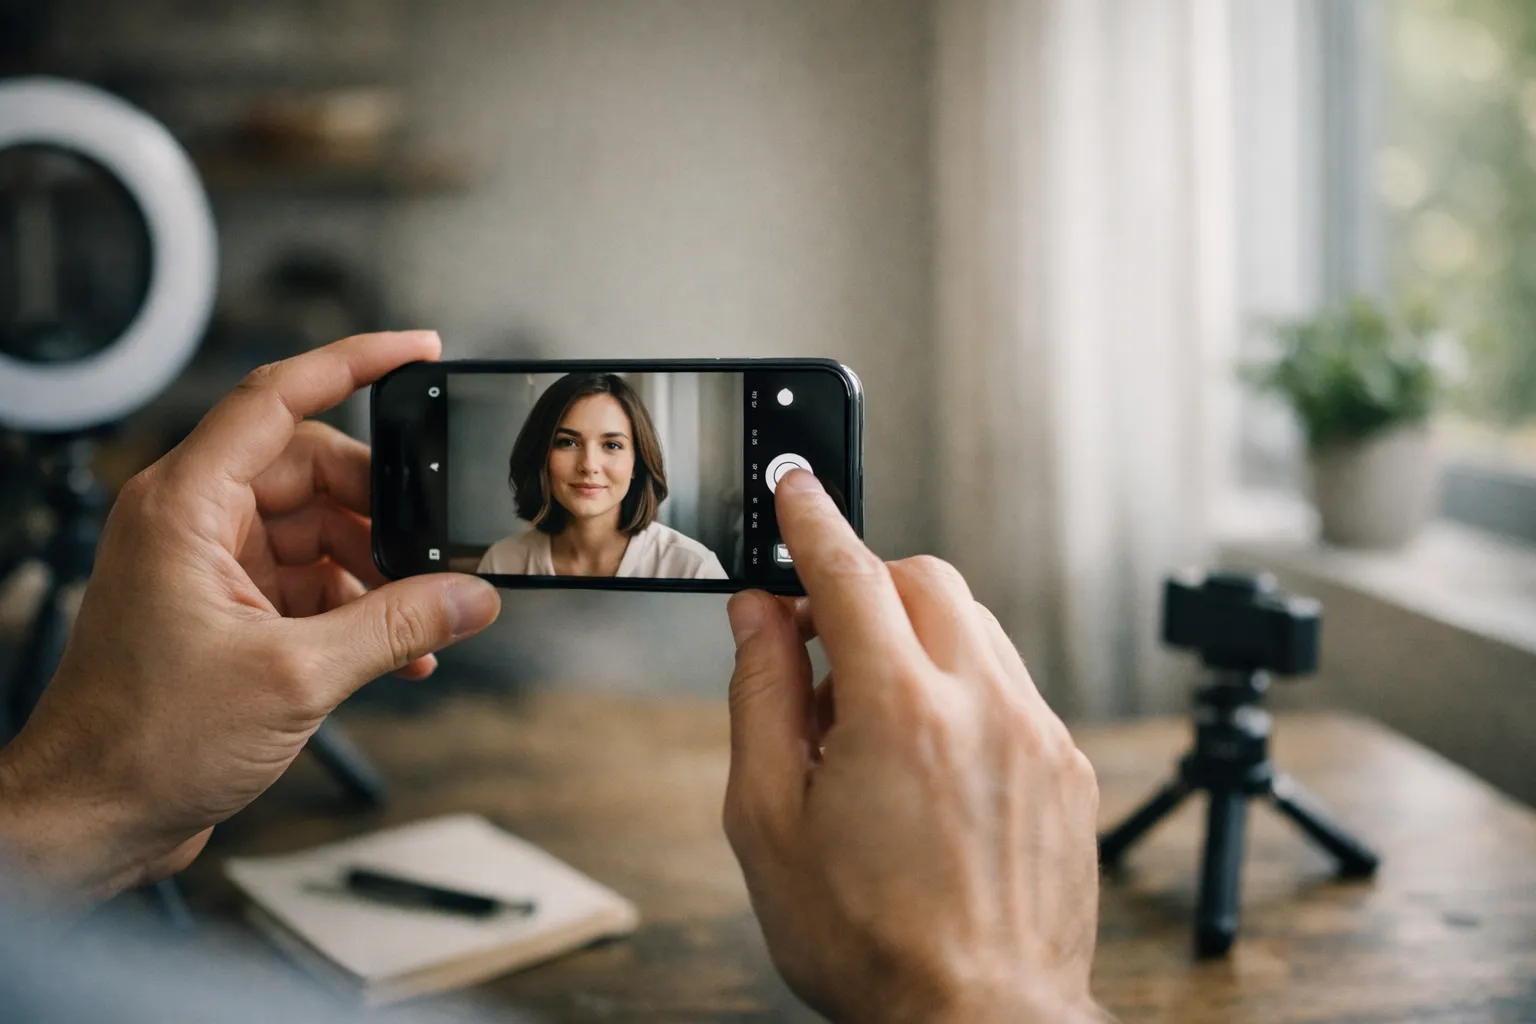
Your most useful tool is Portrait Mode. Available on most recent iPhones, this feature uses software to create a soft, blurry background (known as "bokeh") common in professional headshots. It separates you from the background and makes your face the clear center of attention.

Dialing in the Key Settings
A few small adjustments in the camera app can make a significant difference. Before you start taking pictures, lock in these settings for consistent quality.
- Use the Rear Camera: This is essential. The main camera on the back of your phone is far superior to the front-facing camera in quality. For better sharpness, color, and clarity, always use the rear camera.
- Lock Your Focus: This is an easy professional trick. Tap and hold on your face on the screen until a yellow box appears with "AE/AF LOCK." This prevents the camera from refocusing or changing the exposure while you frame your shot.
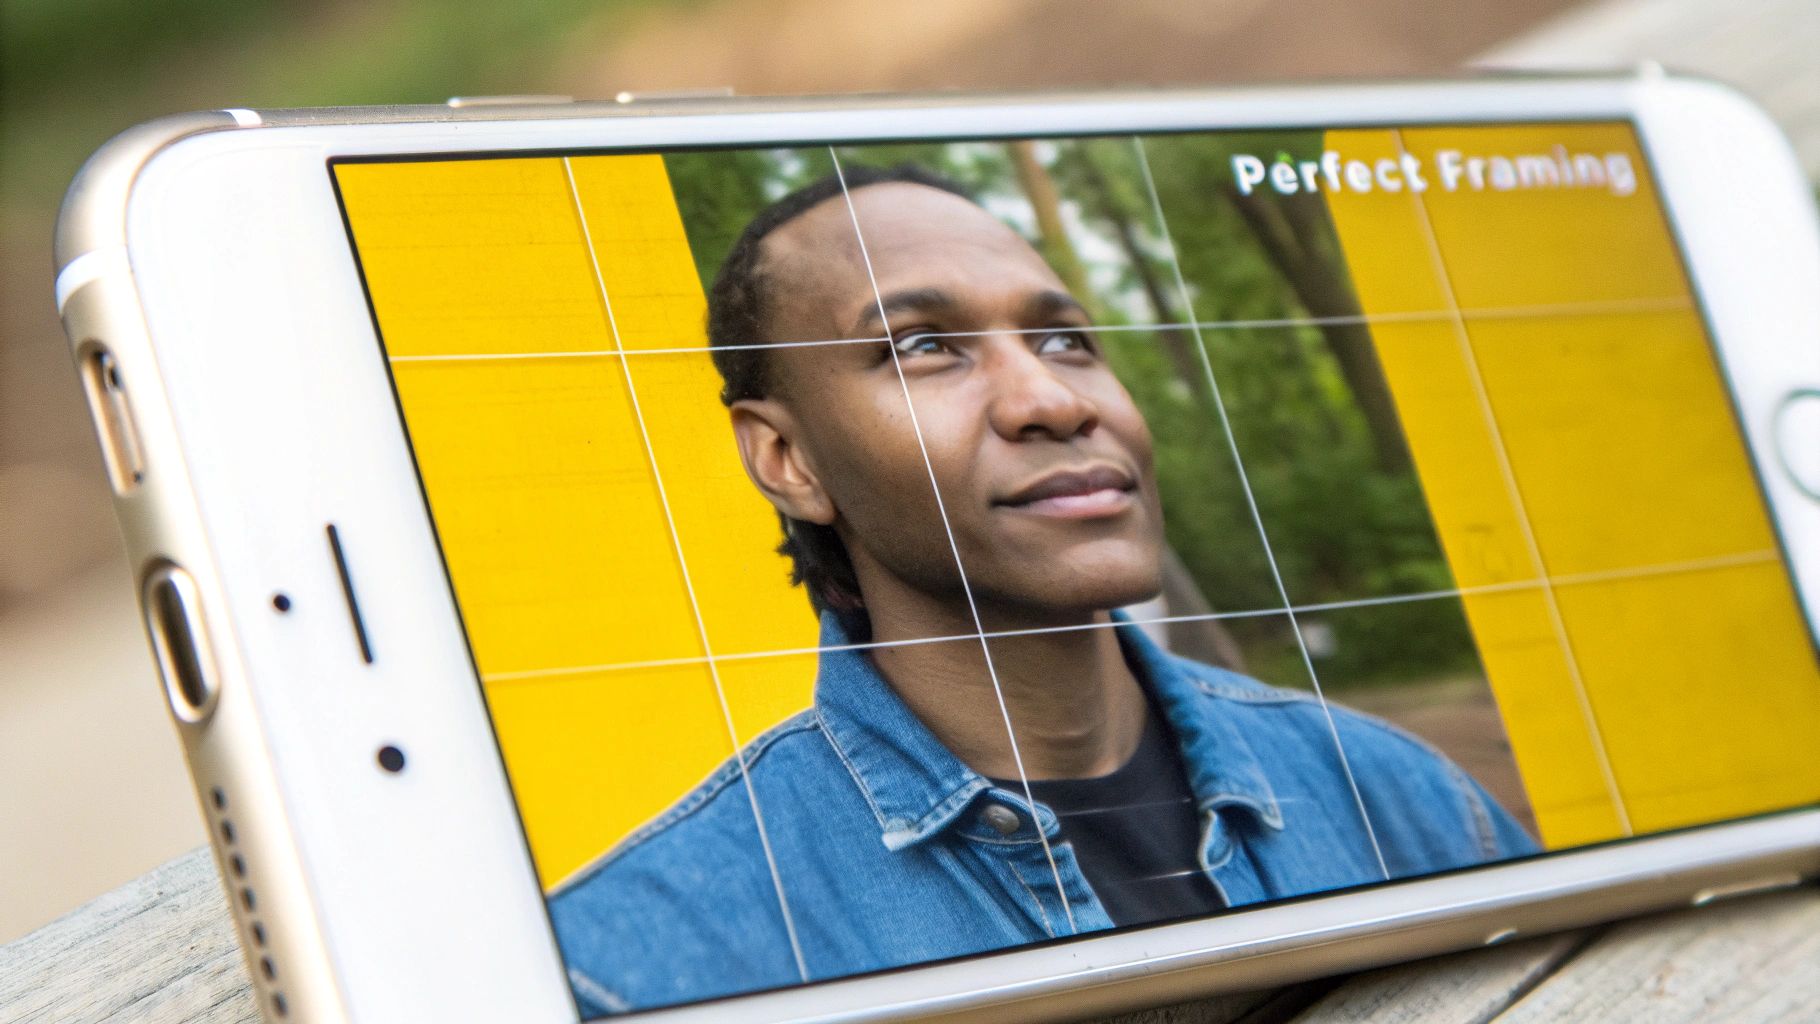
- Turn on the Grid: Go to your phone's Settings, find the Camera menu, and toggle the "Grid" on. This overlay helps you with composition, allowing you to use the rule of thirds for a more balanced, professional-looking photo.
Why Professionals Also Use iPhones
The quality of iPhone cameras has become so reliable that even professional photographers are incorporating them into their work.
By 2025, some surveys predict that nearly 15% of professional photographers will use both a traditional camera and a smartphone for their work. This shift highlights how capable your phone is for capturing high-quality images.
For a deeper dive into getting the most out of your phone's camera, you might find our other guide on iPhone photo tips helpful.
Posing and Expression for a Confident Look
Most people feel a bit awkward in front of a camera. The secret to a great headshot is not about being a model, but about using a few simple techniques to look confident and approachable.
Your posture and expression are just as important as the lighting and background you've carefully selected.
Finding Your Angle and Smile
First, let's address posture. Standing square to the camera can look confrontational or flat, like a passport photo. Instead, try angling your body about 45 degrees away from your iPhone, then turn your head back to face the lens. This simple adjustment creates more depth and a more dynamic look.
For your jawline, try this classic photographer’s trick: gently push your chin forward and then slightly down. This small movement helps to define your jaw and avoid the appearance of a double chin.
When it comes to your expression, a forced "cheese" is the enemy of a good headshot. A fake smile is easy to spot.
To get a genuine one, think of something that truly makes you happy—a fond memory, a joke, or a loved one. This mental cue will bring an authentic warmth to your face that you cannot fake.
Quick Tip: Your clothing choices matter. Solid colors are almost always best because they keep the focus on you. Busy patterns can be distracting. Simple necklines, like a crew neck or a subtle V-neck, frame your face well.
The goal is to let your personality shine through professionally. The combination of a confident pose and a genuine expression will make your iPhone headshot truly stand out.
Putting the Finishing Touches on Your iPhone Headshot
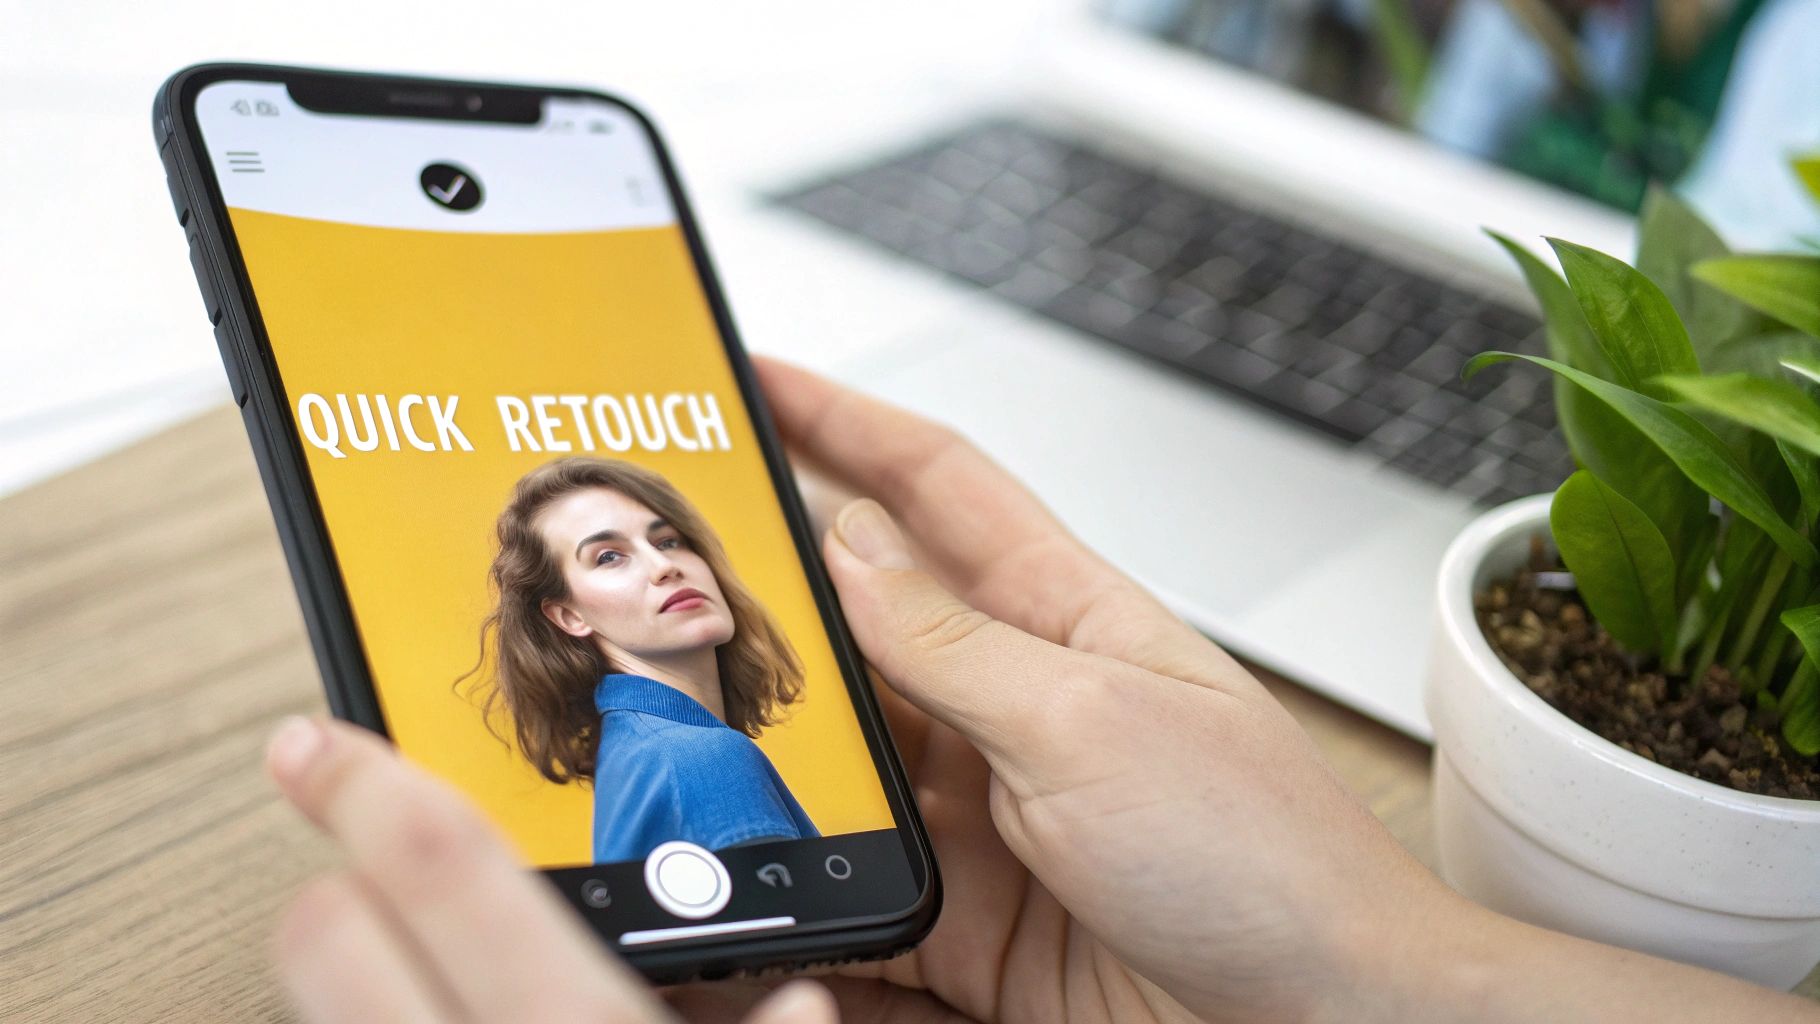
You've taken the shot. Now it's time for the final polish. This is where a good photo becomes a great headshot, and you don't need complicated software. Your iPhone’s built-in Photos app is surprisingly powerful for making subtle, professional adjustments.
The goal is enhancement, not alteration. We want to bring out the best in the photo you already took.
Fine-Tuning Your Image
Good editing involves making small, deliberate changes. A few simple tweaks to lighting and color can add professional depth and clarity.
Here’s what to focus on first:
- Cropping: Use the crop tool to improve your composition, often by applying the rule of thirds. Try to position your eyes along the top horizontal line of the grid for a balanced and engaging photo.
- Brightness and Contrast: A slight increase in brightness can make the image feel more open and approachable. A small boost in contrast will add dimension and prevent the headshot from looking flat.
- Warmth and Color: Skin tones are very important. The lighting might have left a slight blue or yellow cast. Use the "Warmth" or "Tint" sliders to achieve a natural, healthy look.
A good rule of thumb: If you can immediately tell a photo has been edited, you've probably gone too far. The best edits are invisible.
Once your image looks sharp, don't forget the file itself. Learning how to name images for SEO is a small but useful step that can help people find you online.
While taking your own headshot is a great skill, sometimes you need a perfect result without the trial and error. That's where AI-generated headshots are useful. They take your casual photos and produce a set of polished, studio-quality portraits, saving you time and effort.
Creating a fantastic headshot with your iPhone is achievable. But if you'd rather get a perfect picture quickly, an AI solution might be exactly what you need.
The AI Alternative for Guaranteed Professional Results
Trying to get the perfect lighting, pose, and background for a DIY headshot can be challenging. If you find the process time-consuming or difficult, another option removes the guesswork.
AI-generated headshots have become a popular and effective alternative. Instead of setting up a photoshoot, you simply upload a handful of your favorite casual photos. The AI then creates a full gallery of professional-looking headshots in various styles. It’s an ideal solution for busy professionals who need high-quality results without a time-consuming photoshoot.
The quality of AI headshots has become remarkably good. Many tools can produce studio-level images in about an hour. In fact, studies have found that people could not tell the difference between AI-generated headshots and traditionally shot photos 62% of the time. For more on this, you can explore this detailed 2025 headshot guide.
Getting started is usually very simple, with a straightforward interface for uploading your photos.
The process is designed to be user-friendly, turning your existing pictures into polished portraits with just a few clicks.
For anyone who needs a reliable and fast option, AI Headshots from Headyshot can deliver a diverse set of studio-grade photos. It’s a great way to get a variety of looks for your LinkedIn profile, resume, or company website.
Your iPhone Headshot Questions, Answered
Even with a good plan, you may have a few questions as you start taking photos. Getting these details right can be the difference between a polished headshot and one that looks like a selfie. Let's cover some of the most common challenges.
Should I Use the Front-Facing (Selfie) Camera?
It's tempting for convenience, but you should not use the front-facing camera. The rear-facing camera on your iPhone has a much better sensor and a higher-quality lens.
This results in a sharper, more detailed, and more professional-looking photograph. If you’re shooting by yourself, use a small tripod or prop your phone on a stable surface and use the self-timer. It requires a little more effort but provides a significant payoff in quality.
My iPhone Doesn't Have Portrait Mode. What Should I Do?
If you don't have Portrait Mode, you can still achieve a soft background effect.
The trick is to create physical distance between yourself and your background. Stand at least several feet in front of whatever is behind you—a simple wall or some greenery. This natural separation will cause the lens to focus on you, creating a subtle depth that keeps you as the main subject.
What's the Best Way to Hold the Phone for a Headshot?
Camera shake is the enemy of a sharp headshot. Even the smallest movement when you take the photo can introduce blur.
Stability is the golden rule. A tripod is your best option. If you don’t have one, a stack of books on a sturdy table or shelf can work well.
To avoid moving the phone when you take the picture, you have two great options:
- Use the self-timer (the 3 or 10-second option).
- Use the volume button on your phone or your Apple headphones as a remote shutter.
Taking your own headshots is a valuable skill, but it does require patience. Whether you choose the DIY method or an AI solution, a high-quality headshot is more accessible than ever. If you're ready to create a professional image with ease, consider exploring an AI headshot generator. Solutions like Headyshot can provide a wide variety of polished, ready-to-use headshots from your existing photos, helping you make a great first impression.