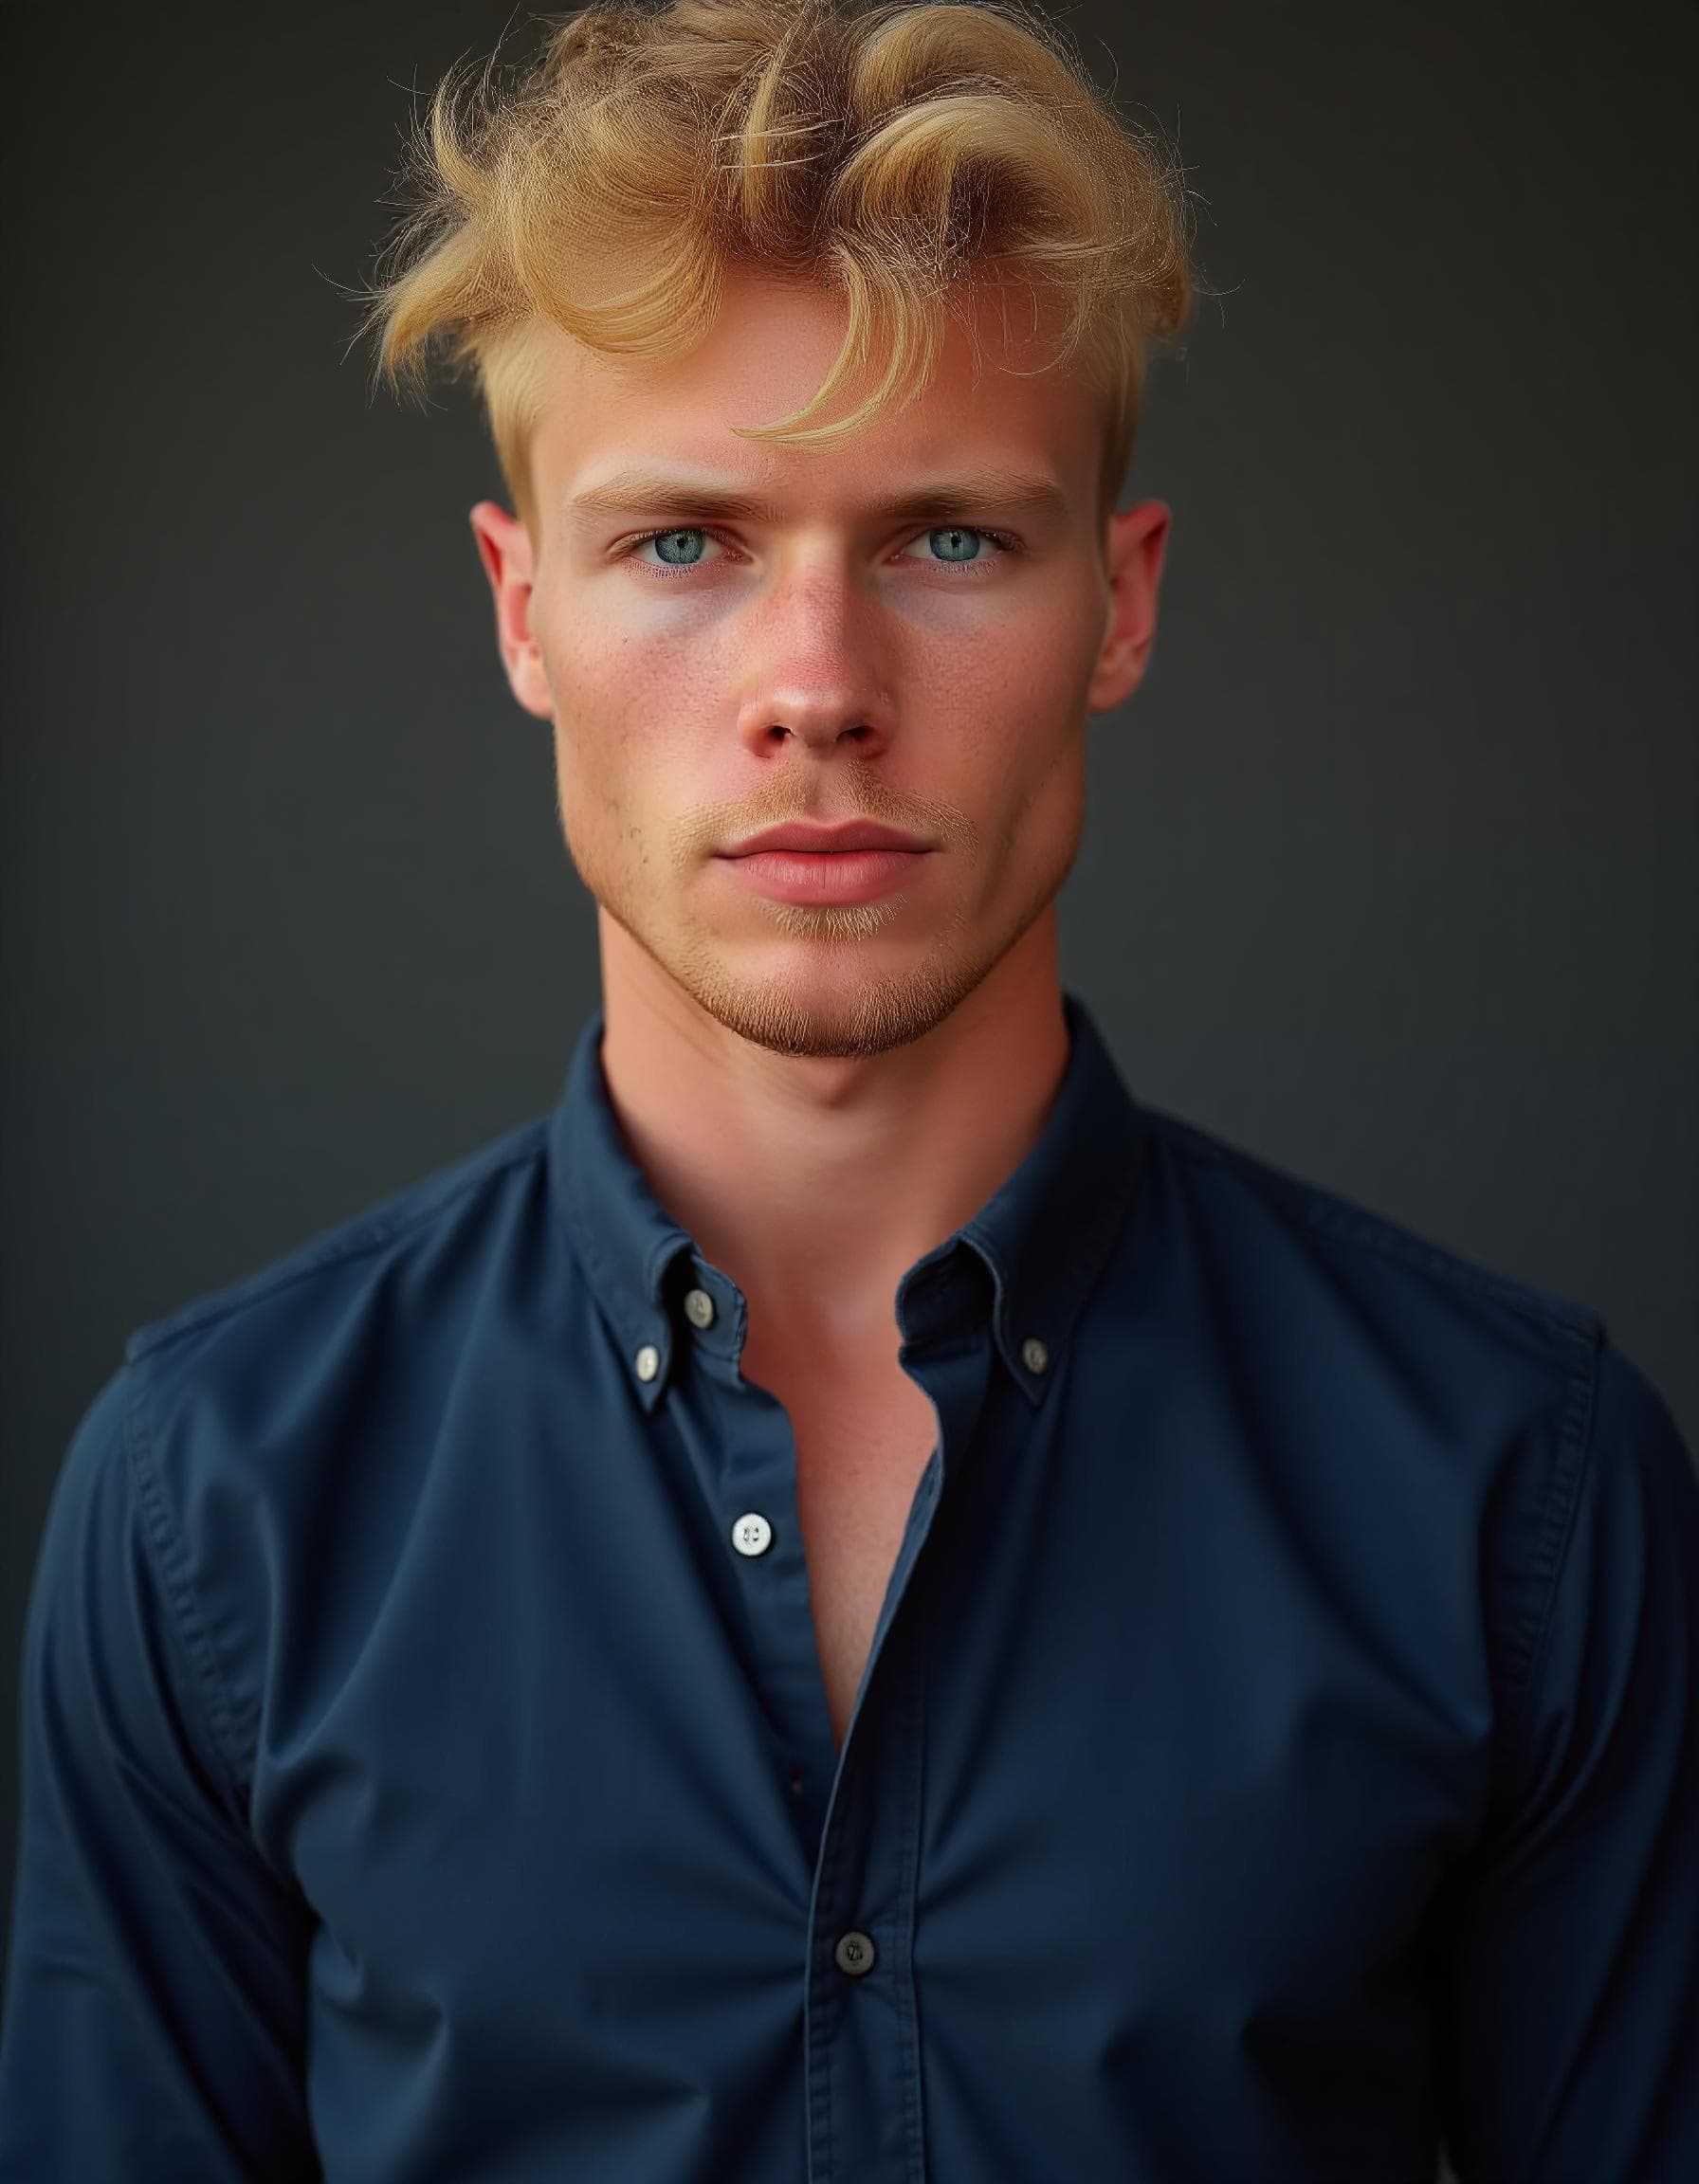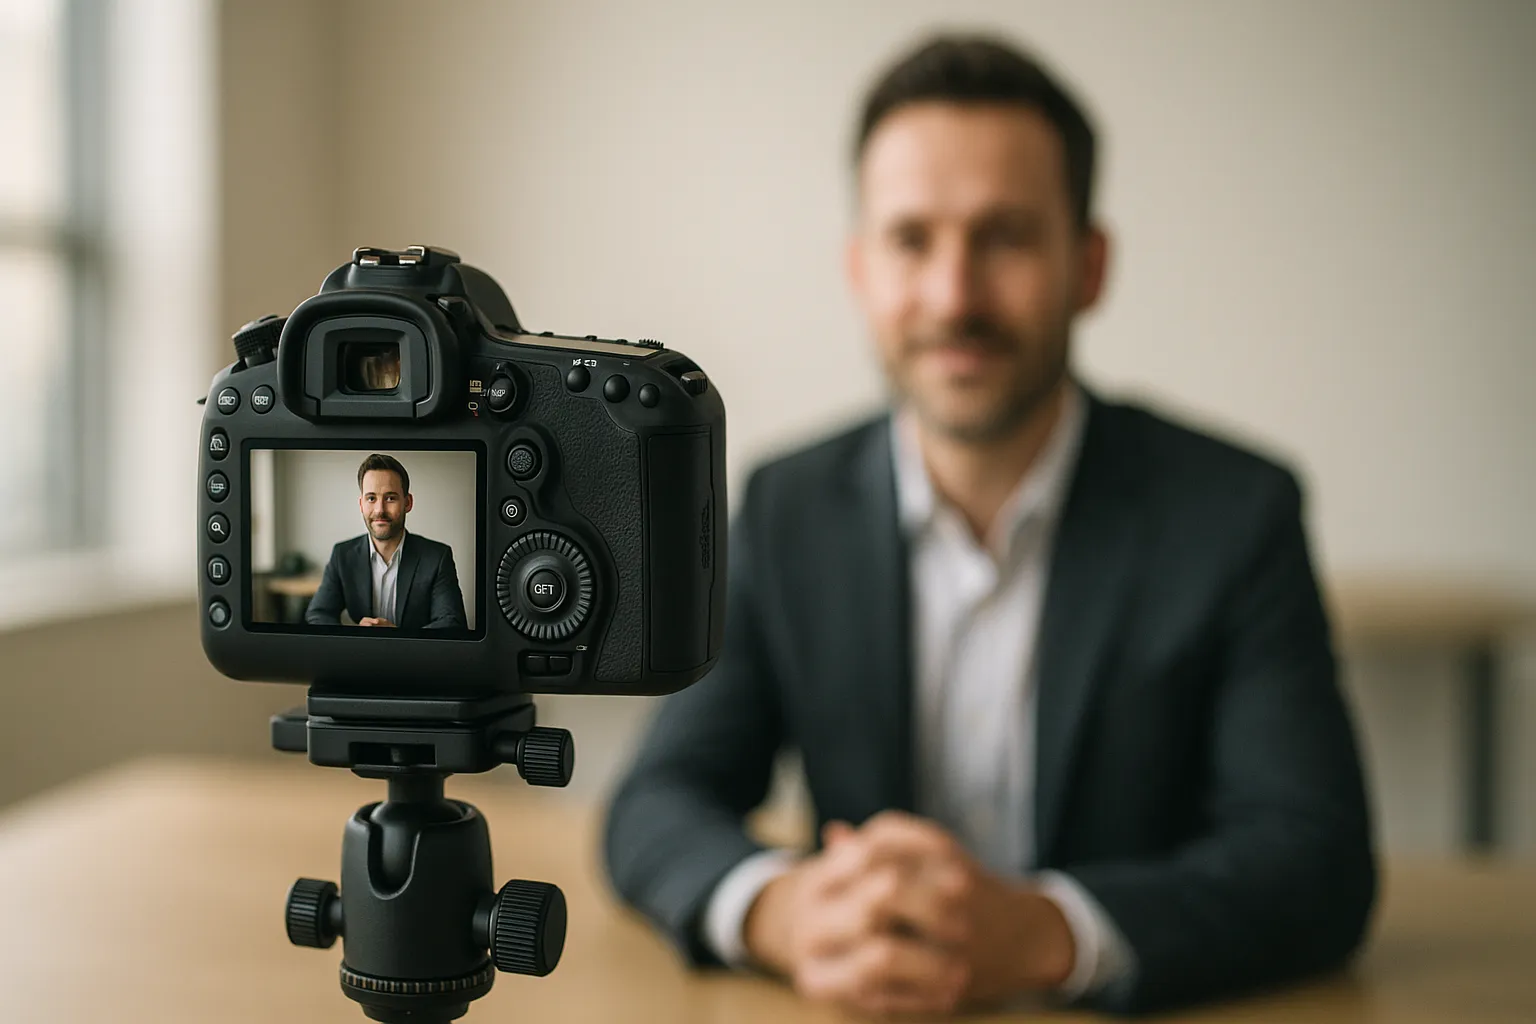
Most of us decide whether we trust someone in the blink of an eye-literally. Vision researchers have shown that people form impressions in a fraction of a second, and in business that snap judgment often starts with a headshot on a website, pitch deck, or LinkedIn. If you want your team to look credible, approachable, and on-brand, your portraits need to deliver all three at once.
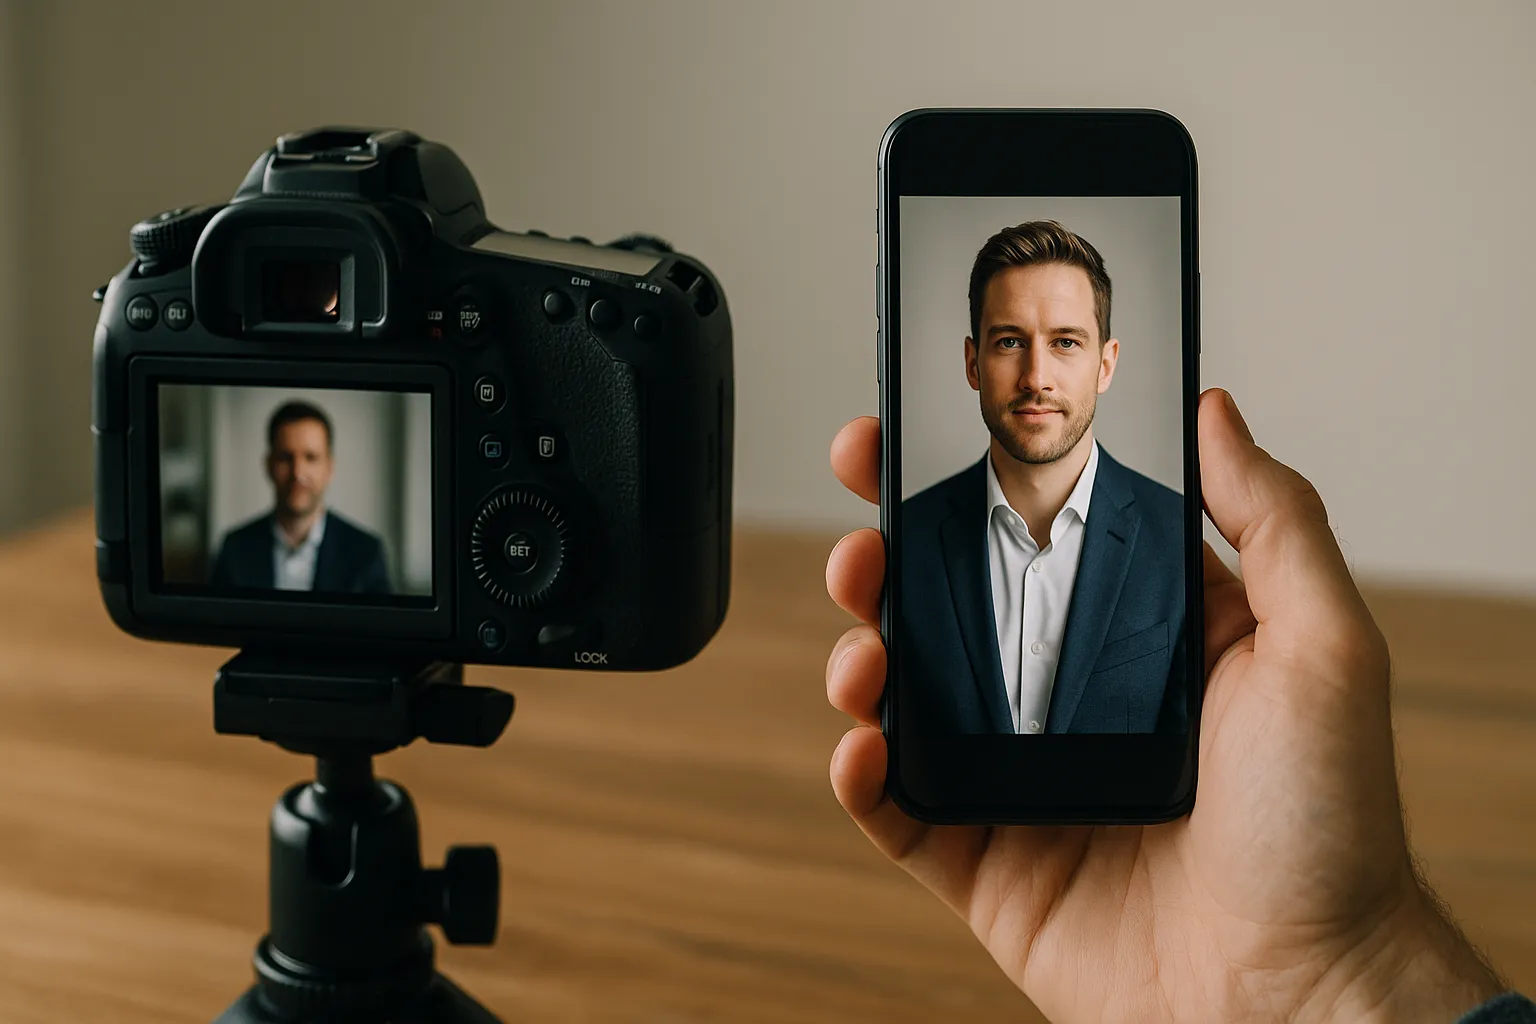
Here’s the spoiler: knowing how to take business portraits isn’t just about owning a good camera. It’s choreography-of wardrobe, background, lighting, direction, and composition-performed quickly in real offices with real stakeholders who have five minutes between meetings. In the guide below, you’ll get a step-by-step workflow that works in conference rooms, open offices, or pop-up studio corners, plus concrete settings and repeatable posing that keeps results consistent across your entire team. The goal is simple: portraits you’re proud to put on the homepage and confident to ship in a press kit.
Pre-production: Prepare your team, wardrobe, and environment for standout business portraits
Great portraits start before the shutter clicks. Align on brand style, wardrobe, and environment and you’ll solve 80% of problems in advance. If you’re planning how to take business portraits for a whole team, share a one-page prep guide a week before the shoot and designate a tidy staging area for lint rollers, mirrors, and a steamer.
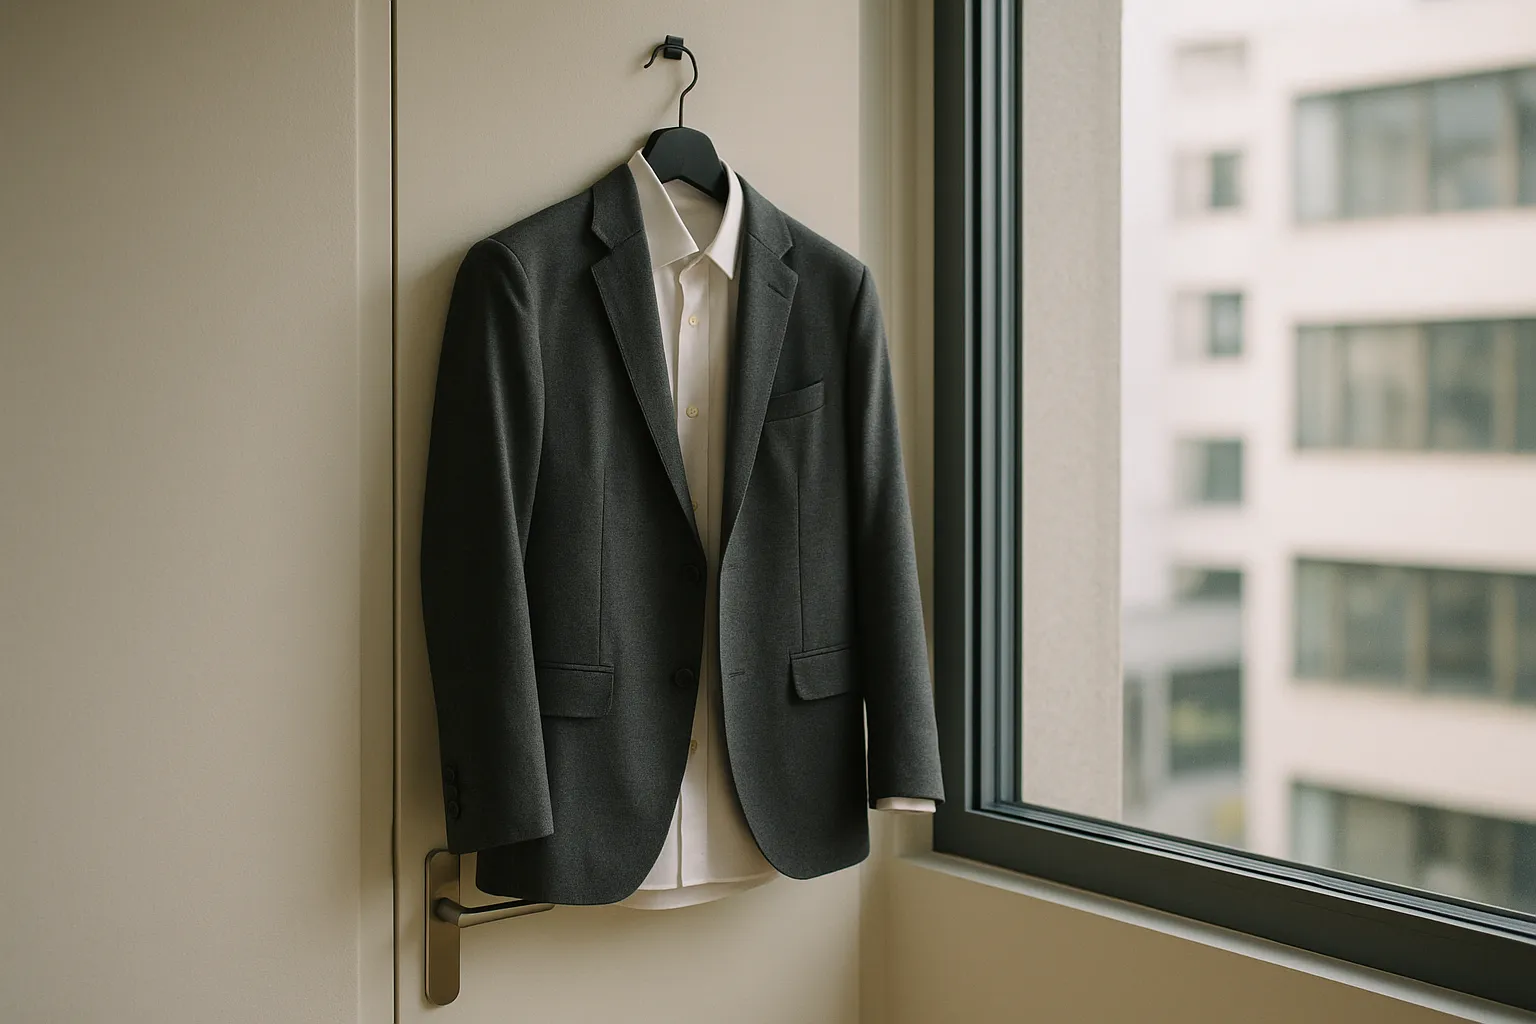
What to wear for professional business photos
Think timeless, not trendy. Favor fitted layers, mid-tone colors, and textures that read well on camera. Offer guidance early so people arrive confident instead of guessing minutes before their slot.
| Item | Why it works | Avoid |
|---|---|---|
| Blazers/jackets | Structure at the shoulders adds presence and shape | Overly padded or loose, wrinkled fabric |
| Solid shirts/blouses | Clean, distraction-free look; easy to color-match brand | Loud patterns, moiré-prone micro-stripes |
| Mid-tones (charcoal, navy, forest) | Flatter most skin tones and compress well | Pure white near bright windows; neon hues |
| Subtle accessories | A touch of personality without stealing focus | Reflective jewelry, big logos, noisy scarves |
| Grooming & shine control | Matte skin reads confident; hair in place | Heavy SPF sheen, flyaways, last-minute haircuts |
Backgrounds should match your brand’s voice and the context where portraits will live. For classic company profile photos, a neutral gray seamless or soft gradient is universally flattering and easy to replicate later. If you want an “in-office” feel, scout clean sightlines: a window from the side, softly blurred bookshelves, or an architectural element in company colors. Aim for separation-pull subjects 4–8 feet from the background and use a longer lens to compress clutter. If you’ll include recognizable private spaces or branded art, confirm permissions and any release needs; the ASMP has helpful guidance on practical release considerations.
One last pre-flight: prep props only if they reinforce role or brand (a tablet for a product demo team, a lab coat for medical staff). Less is more. Your subject’s expression and posture are the hero.
Quick story: we once shot a professional business headshot in a glass-walled conference room with a tangle of cables and swag behind the subject. We pulled the chair six feet forward, angled toward a side window, and let the background fall to a soft blur. Same space, different feel-suddenly it looked editorial, not chaotic. That little shift kept the brand polished and the person front and center.
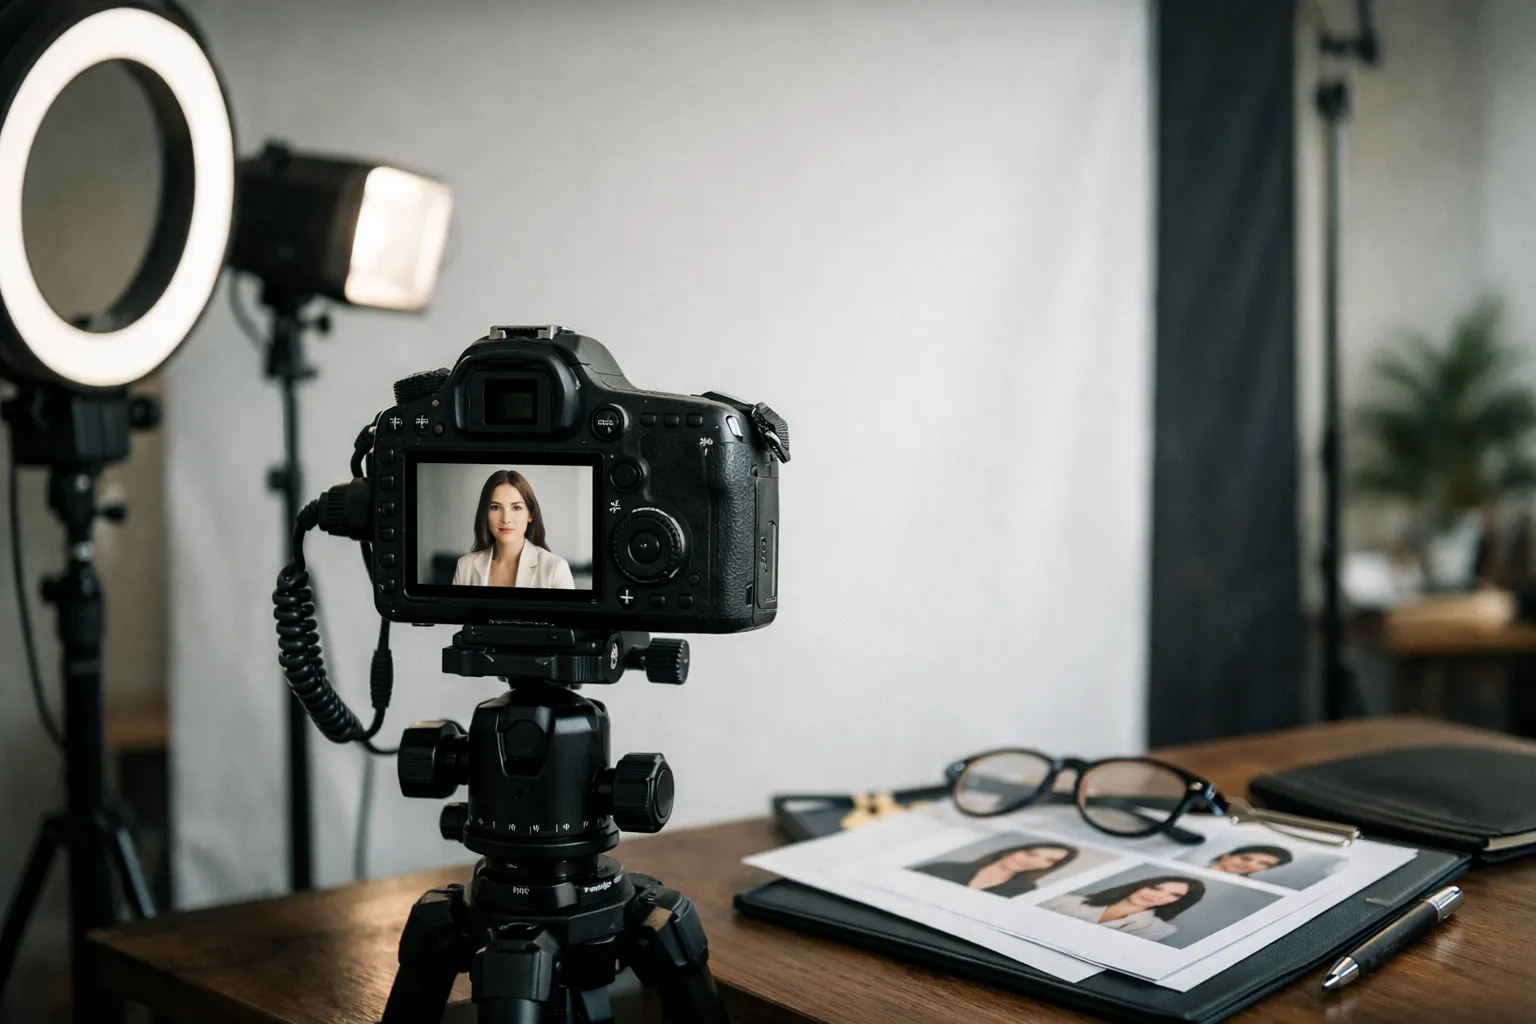
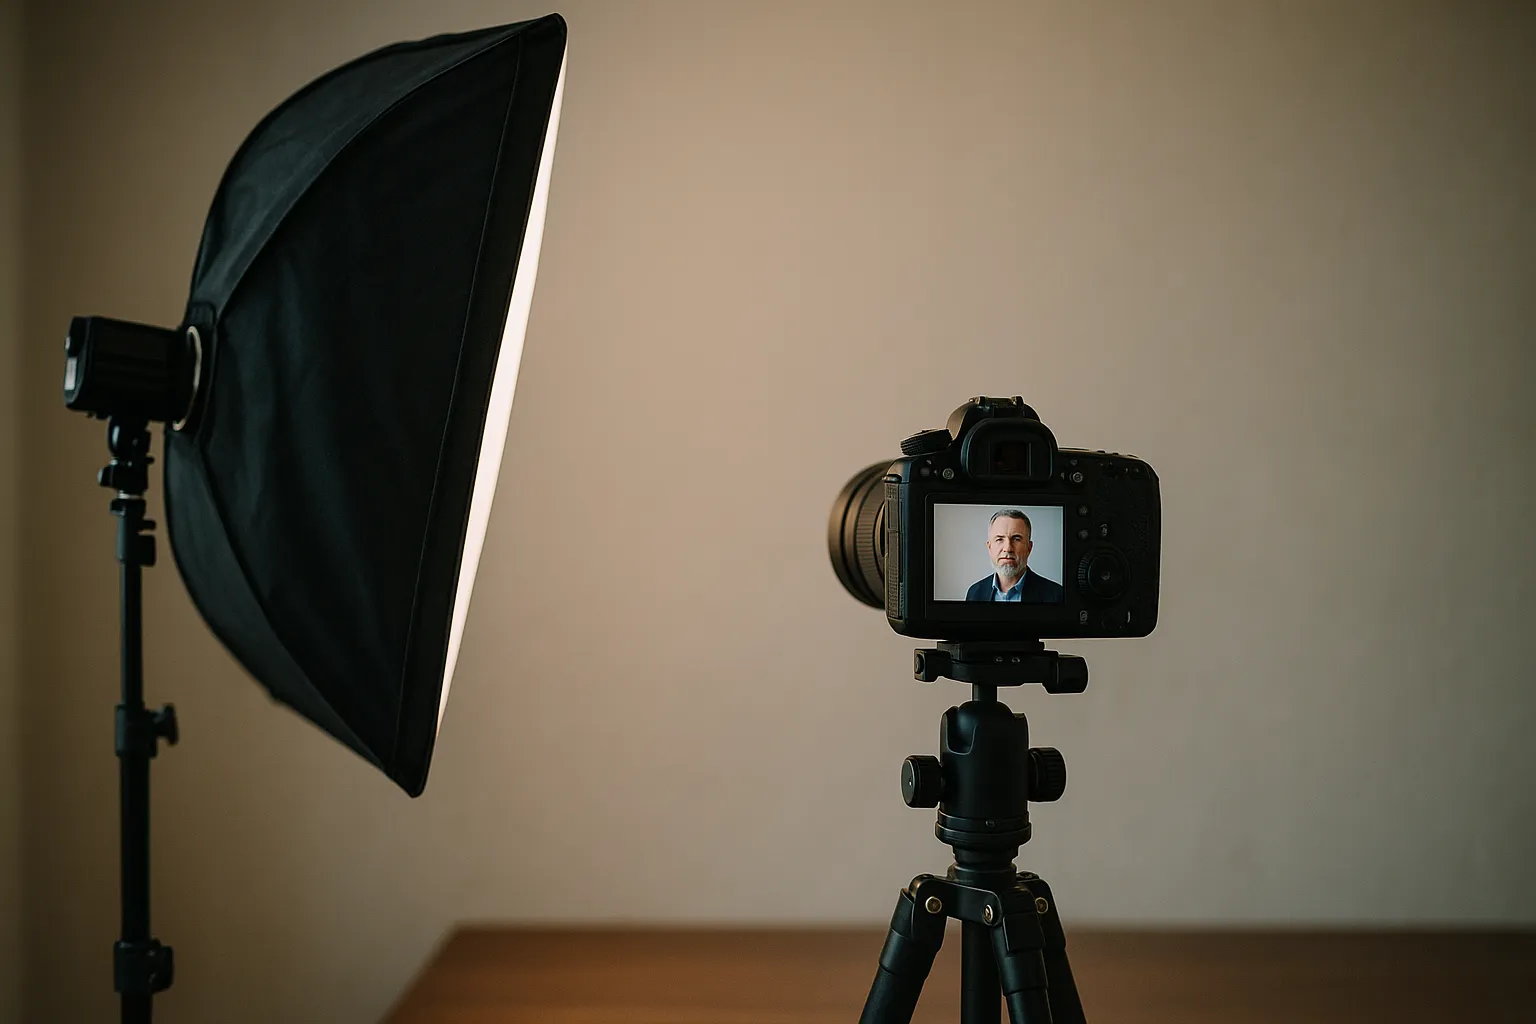
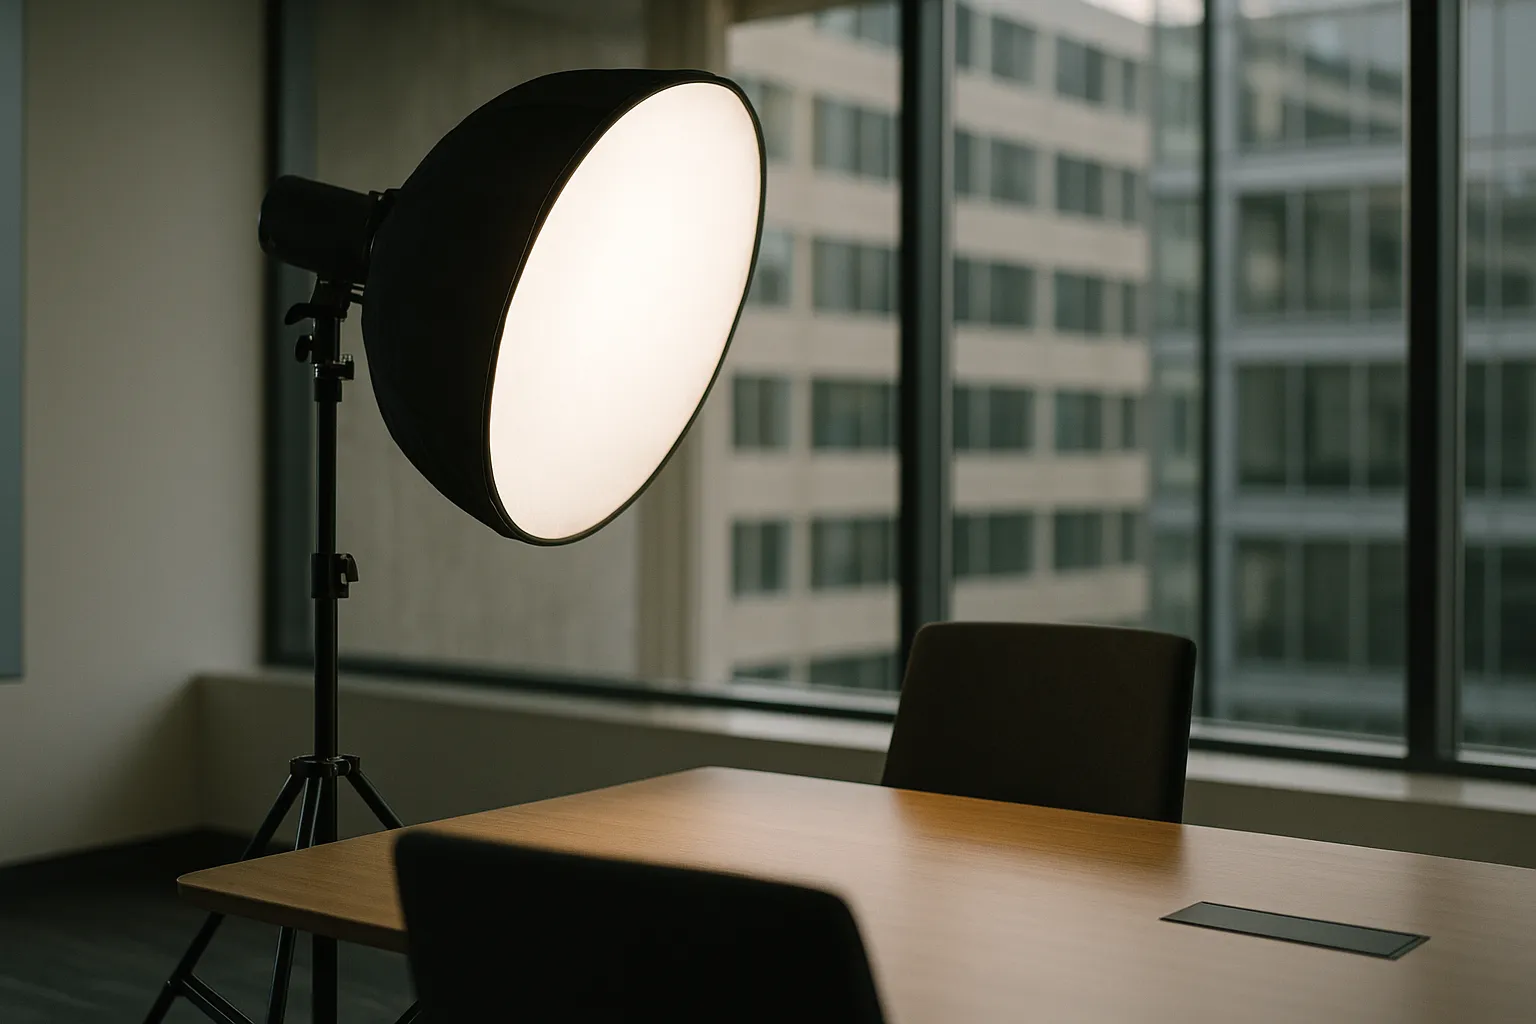
Office-friendly lighting and tack-sharp camera setup
Office lighting is a mixed bag-overhead fluorescents, windows, and glossy walls. Your job is to tame it and make faces sing. A simple two- or three-light kit can travel in a backpack and produce consistent, flattering corporate portraits in almost any conference room.
Business portrait lighting setup for offices
Start by controlling ambient light. Turn off overheads when possible and build your look with a key, fill, and background light. A soft key 30–45° off-axis and slightly above eye level flatters most faces. Feather the key across the subject for smoother gradients and use a V-flat or reflector for gentle fill.
- Place the key light at 30–45° to camera, just above eye level; feather across the face for softer falloff.
- Add a large reflector or low-powered fill opposite the key to lift shadows without flattening.
- Use a small rim or background light to separate dark hair from dark backdrops.
- Flag spill with black foam core; keep light off the background unless you want a gradient.
- Kill or overpower mixed ambient light to avoid green or magenta casts.
For tack-sharp files, pick lenses in the 85–135mm range on full-frame (or 50–85mm APS-C). Start around f/4 to balance sharpness and background blur. Shutter at 1/160–1/200 sec to freeze micro-movements; ISO 100–400 for clean results. If you’re mixing flash with daylight, set white balance to your key source and gel as needed. For a deeper dive on aperture and blur, see Cambridge in Colour’s depth of field guide; for light placement fundamentals, revisit Strobist Lighting 101.
| Scenario | Aperture | Shutter | ISO | Notes |
|---|---|---|---|---|
| Neutral gray backdrop, one subject | f/4 | 1/160 | 100 | Classic key+fill; crisp eyes, soft background |
| Bright window office, mixed light | f/2.8–f/4 | 1/200 | 200–400 | Gel to match color temps; block overheads |
| Team of two in frame | f/5.6 | 1/160 | 200 | Extra depth so both faces stay sharp |
| Tight space, white walls | f/4 | 1/200 | 100 | Flag spill; bring subject off the wall |
Pro tip: if you need zero-fuss consistency across dozens of staff portraits, lock in your exposure and light distances, then tape the floor for tripod and subject positions. Precision beats guesswork on a long day.
Another real-world win: during a finance firm’s hiring push, we turned an 8x10 office into a mini studio with one softbox, a reflector, and a gray sweep. We taped marks, metered once, and cruised through 40 people without touching a dial. The result? Cohesive professional headshots that looked like they were shot in a full studio-delivered before close of business.
Posing and posture: Directing executives with confidence and speed
A great portrait is coached, not captured. Executives appreciate direction that’s respectful, concise, and outcome-focused. Set expectations in 15 seconds: “We’ll do two angles, one smile and one neutral, and I’ll guide posture and chin. It’ll be quick.” Confidence is contagious.
How to pose for corporate headshots
Start with posture. Ask for “tall through the crown, relaxed shoulders,” then pivot the body 20–30° away from camera with the face back toward lens. This creates shape through the torso and narrows the profile. For head position, use micro-cues: “Chin slightly forward and down-great. Tiny tilt to your right.” That gentle push projects confidence and improves the jawline. For hands in three-quarter frames, give them a job: light pocket, folder at the hip, or arms relaxed with a subtle watch reveal.
Expression coaching matters. Try role-based prompts: “Imagine you’re introducing the company at a conference” for leaders, or “Think of a client you enjoy helping” for consultants. The eyes engage when the mind engages. Keep banter light and specific; silence breeds stiffness. Shoot in short bursts, show a quick favorite on the back of the camera, and ask, “Want to go warmer or more serious?” People calibrate faster when they see.
Real-world example: a 60-person SaaS team in Austin updated their LinkedIn headshots during a two-hour pop-up session. Using a consistent pose flow (profile turn, chin projection, neutral and smile), plus a fixed lighting template, we averaged under 3 minutes per person. After the refresh, the company reported a 34% increase in InMail response rates for sales reps over the next quarter and a noticeable uptick in press pickup because the media kit felt “cohesive and current.” Small changes, big signal.
Directing executives who are short on time? Pre-light with a stand-in, have lint roller and blotting papers ready, and narrate each step. You are their mirror. Calm direction equals calm faces.
One more trick: when someone freezes, ask a quick question-“What’s the first job you ever had?” - then shoot the reaction. The micro-smile that follows beats a forced grin every time.
Composition and visual impact: Framing, angles, and on-brand details
Composition subtly tells the story of your brand. Framing, angles, and negative space communicate authority, approachability, or innovation long before anyone reads a bio. This is where you scale craft into consistency across dozens or hundreds of portraits.
Compositional choices that flatter faces and brand
Start with the eyes one-third down from the top of the frame for tight professional headshots; this gives breathing room above and keeps attention where it belongs. Use a slight camera height above eye level for a gentler perspective on most faces, or go level for more direct authority. Keep verticals straight if your background includes architecture-tilted lines can feel off-brand for precision-minded firms.

- Leave intentional negative space on the side where copy will sit on your website or deck; design loves room to breathe.
- Align with brand colors subtly: a navy blazer against a cool-gray gradient, or a splash of company hue in the background.
- For team headshots, lock your crop (e.g., mid-chest to just above the head) so directories feel unified.
- Build a three-shot flow: primary portrait, alternate angle, and a looser environmental option.
“You’re not just photographing faces-you’re photographing brand trust.”
Build a repeatable shot flow so every session follows the same beats: greet, posture cue, primary frame, alternate angle, expression variant, quick review. Tape your tripod spot, mark the subject footprint, and log your final settings. A simple style guide with two reference images and exposure data ensures that future staff portraits match today’s look.
As you practice how to take business portraits that are consistent and on-brand, plan the handoff, too. Export web-ready crops for LinkedIn headshots, print-ready TIFFs for press, and a color-corrected set that adheres to your brand ICC profile. If you want a turnkey option or overflow support for a multi-office rollout, consider partnering with a specialized product like business headshots from Headyshot to maintain consistent lighting, framing, and retouching across markets.
Wrap-up: Prep the wardrobe, control the background, tame the light, direct with empathy, and compose with purpose. Do that, and every portrait becomes a tiny billboard for your brand-clear, confident, and unmistakably you. And if you ever feel stuck, ask yourself: what story should this face tell, and how can I show it in 1/200 of a second?